A Crown Knot secures a rope consisting of many loose strands. It’s used as the first part of a Back Splice or for tieing various decorative Macrame patterns.
It’s also sometimes called the Chinese Crown Knot.
Quick Guide: How to Tie a Crown Knot
To tie a Crown Knot, lay each strand out individually. Then place each strand over the next one in the direction of the twists in the rope. Tuck the last strand in the bight of the first one and tighten to finish the knot.
In the illustration below, we show you how to tie a 3 Strand Crown Knot. But you can also tie a Crown Knot using 4,5,6,7,8 or even more strands. The process is identical, only involves more strands that need to be laid over each other.
If continuing with a Back Splice reverse the strands in the direction of the rope and tuck them between the strands to keep the knot from untieing.
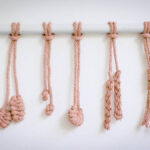
If creating a decorative pattern, continue tieing many Crown Knots in the same direction. This creates a thick, visually-interesting rope.
Common Uses for the Crown Knot
The main use of the Crown Knot is to use as a Back Splice. It’s a knot used to keep the end of a rope from unraveling.
It’s also used as a part of various other knots, including the Crown Sinnet and the Wall and Crown Knot.
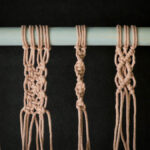
The Crown Knot is also used in various Macrame Patterns to create a thick, Spiral Design rope. You can tie it using 2, 3, 4, or more strands. You have to start by placing all the ropes/strands/cords that you’ll be using over one another. Then tie the first Crown Knot and continue with the following ones until you reach the desired length. Using this method you can create grab handles, bracelets, necklaces, dog leashes, keychains, and other interesting objects.
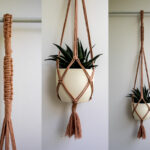
Another popular use of the Crown Knot is to create plant hangers. You can make it using a ring or a carabiner, and 2-4 strands of rope. The top part wraps around the right or a carabiner, followed by a few inches of Spiral Macrame Design (Crown Knots tied after one another). Then a few inches are kept open to wrap around the plant pot and the end is sealed with a few extra Crown Knots.
You can also make cargo or climbing nets with a Crown Knot. Each overlaying section in the net consists of an individual Crown Knot.
Knots Like the Crown Knot
Wall Knot: The Wall Knot is made identically to the Crown Knot except each strand goes under the next one. It’s used as a stopper knot or as a part of other decorative and functional knots.
Wall and Crown Knot: This knot starts with a typical Crown Knot. After that, each strand is looped through its original path once again. This creates a ball-shaped stopper knot at the end of a rope.
Crown Sinnet: This knot is usually used to make bracelets. It starts with a Crown Knot. After that, another Crown Knot is tied in the opposite direction. Then the process is repeated until the desired length is reached.
Double Matthew Walker Knot: In structure, this knot is identical to the Wall and Crown Knot. Its only difference is that it is formed using a Wall Knot instead of a Crown Knot.
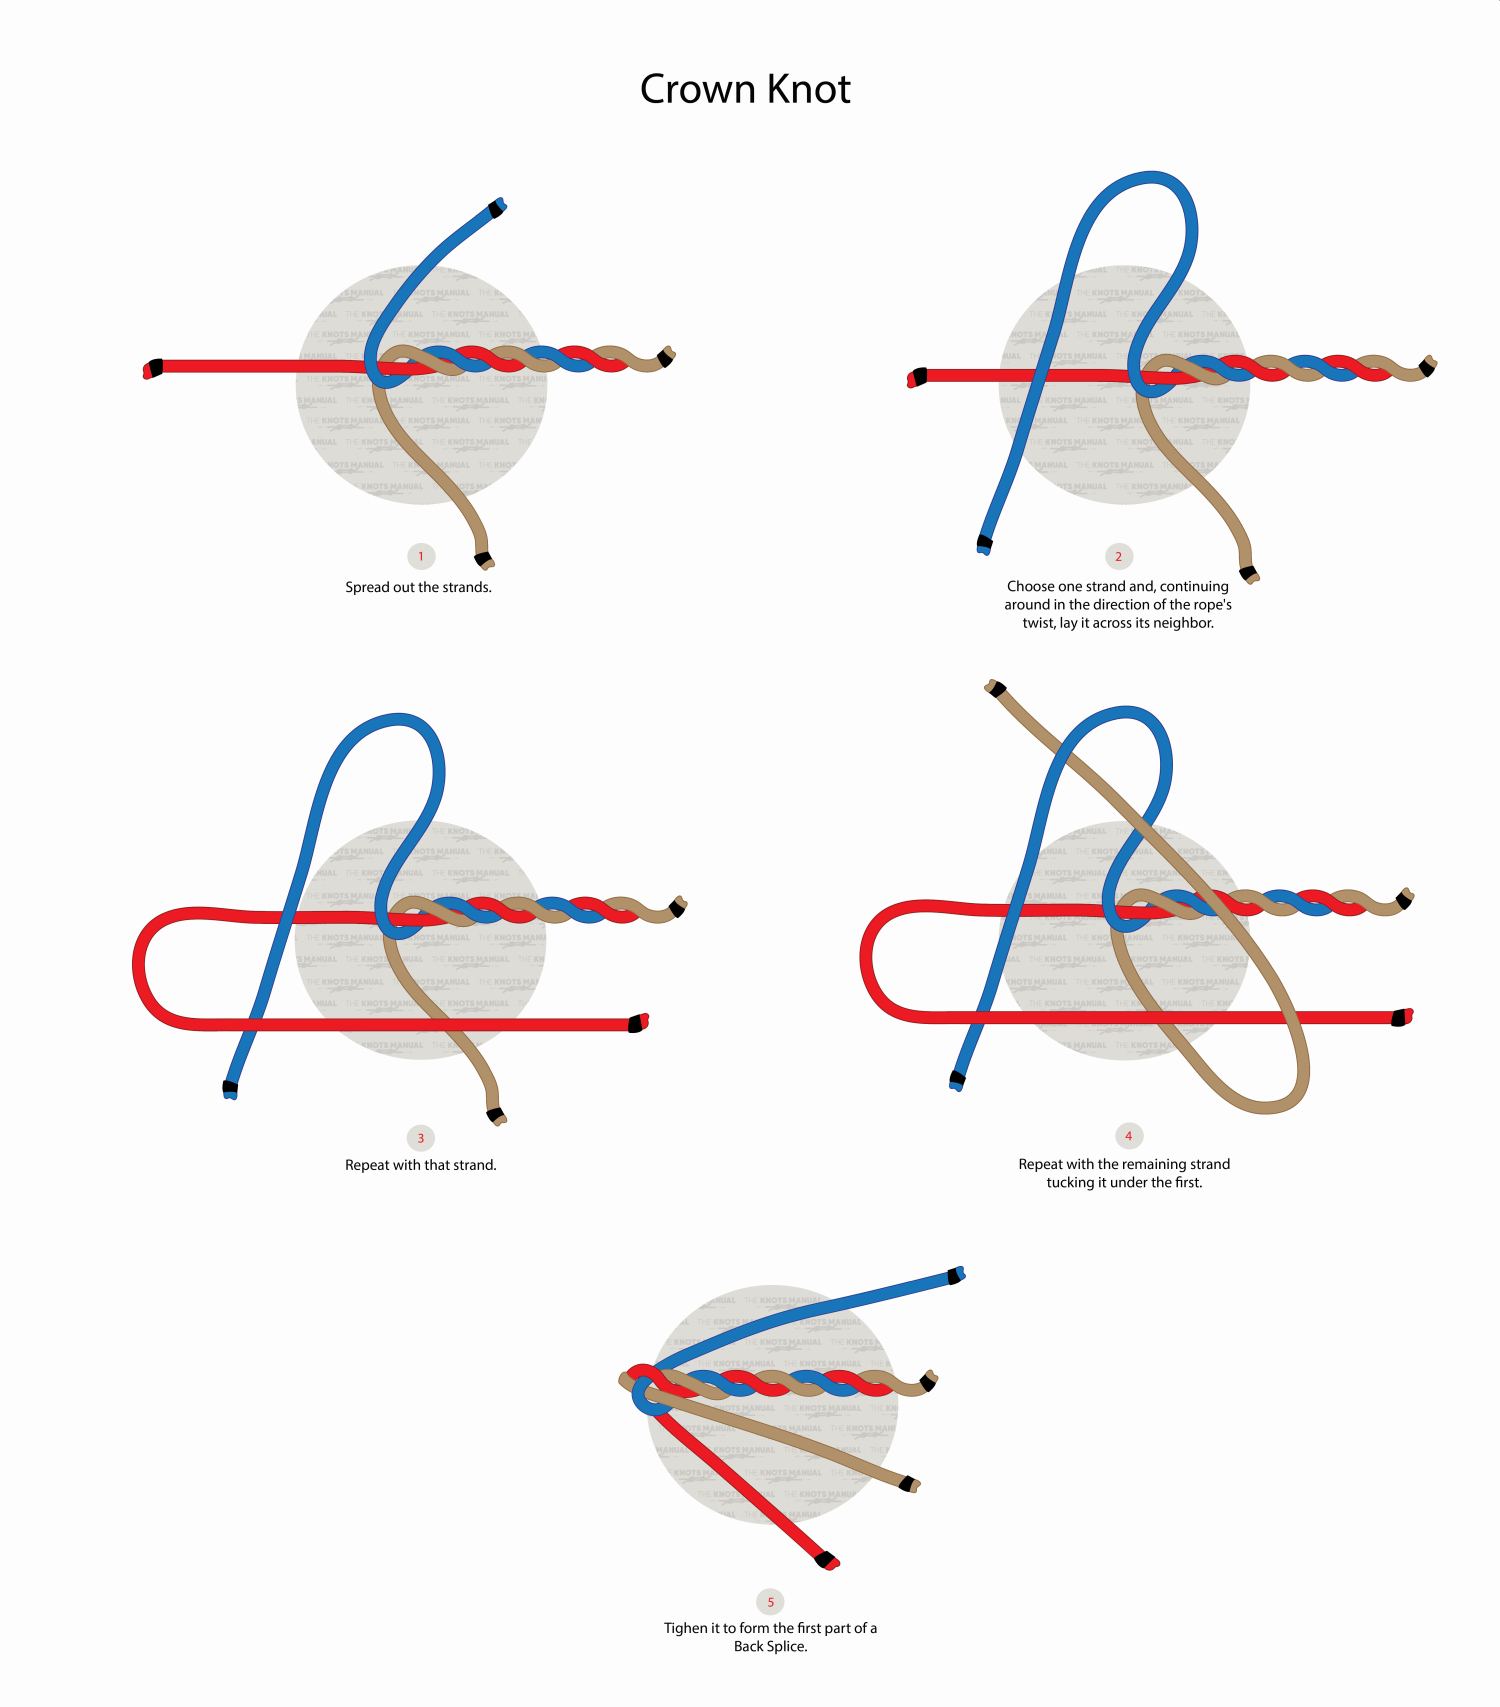
Illustrated Guide: How to Tie the Crown Knot
A step-by-step guide on how to tie a Crown Knot.
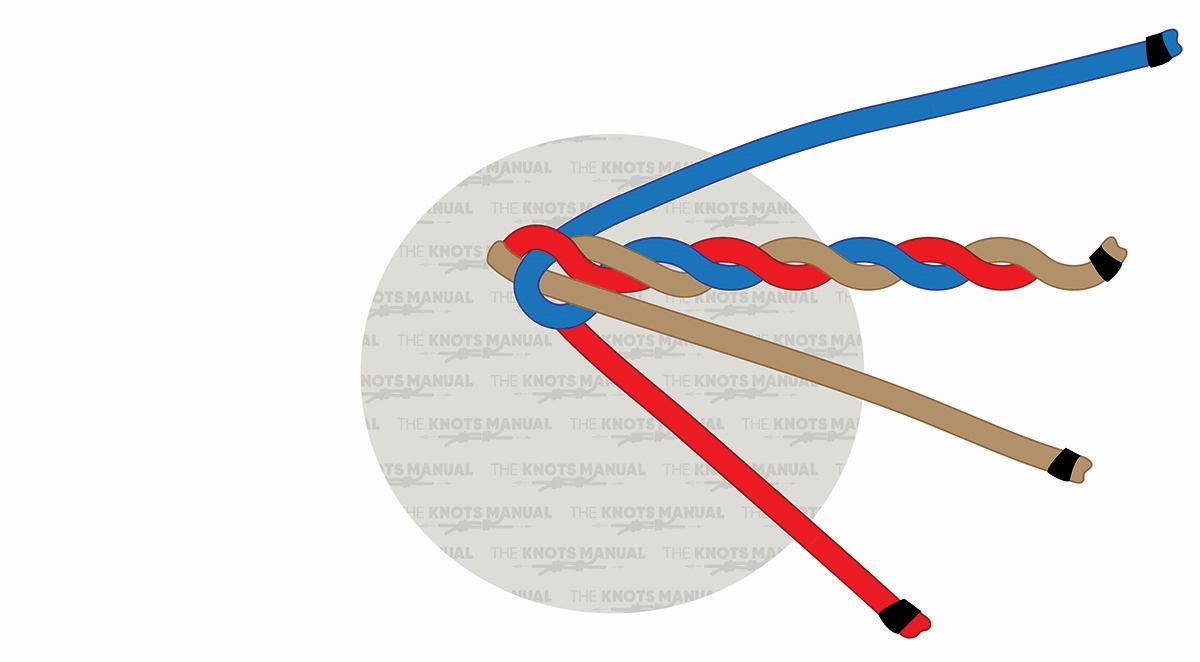
Step 1:
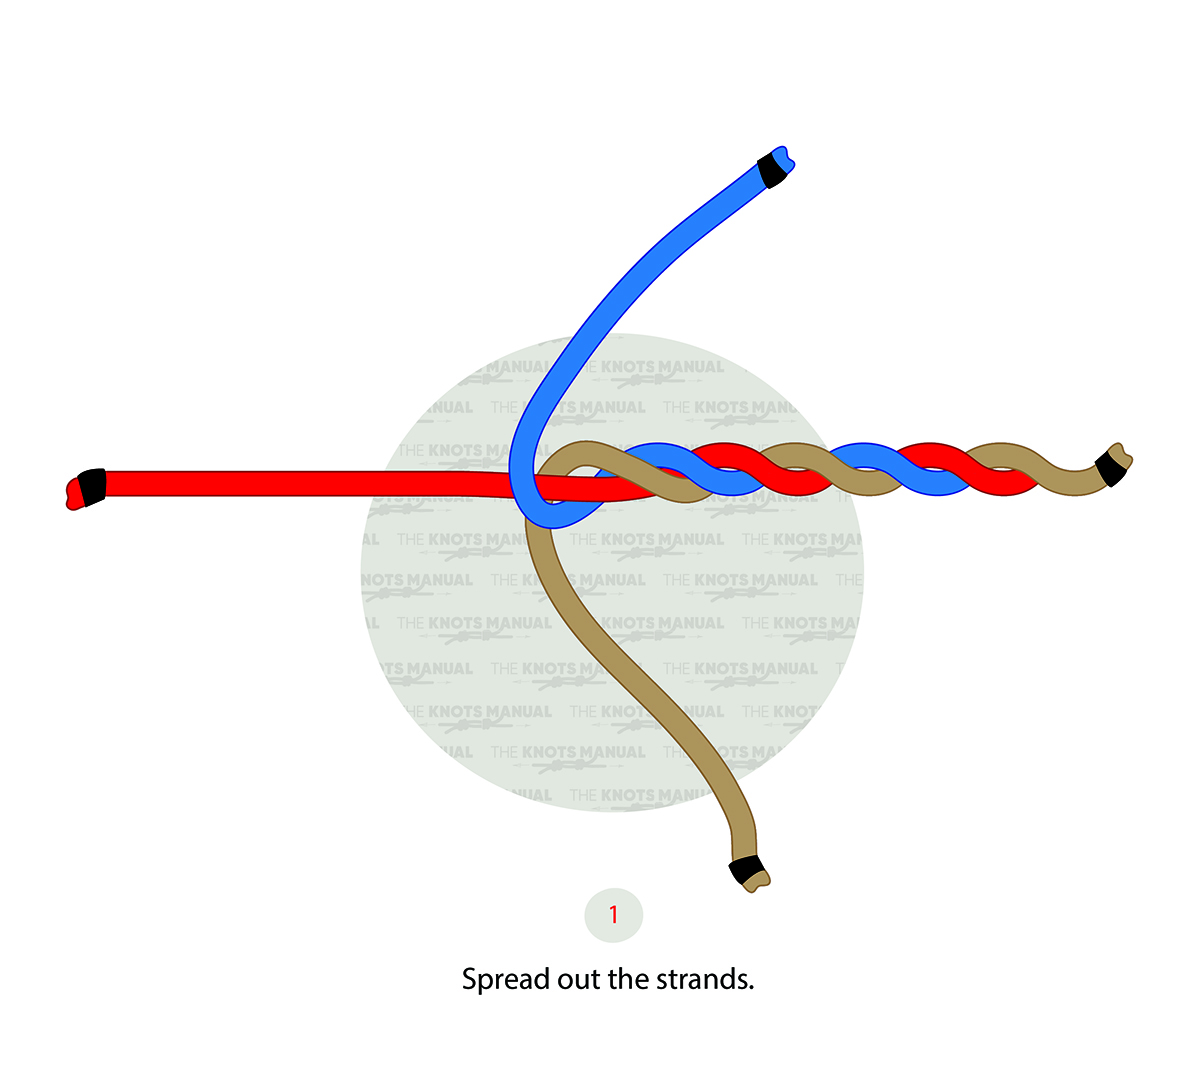
Lay each strand out individually.
Step 2:
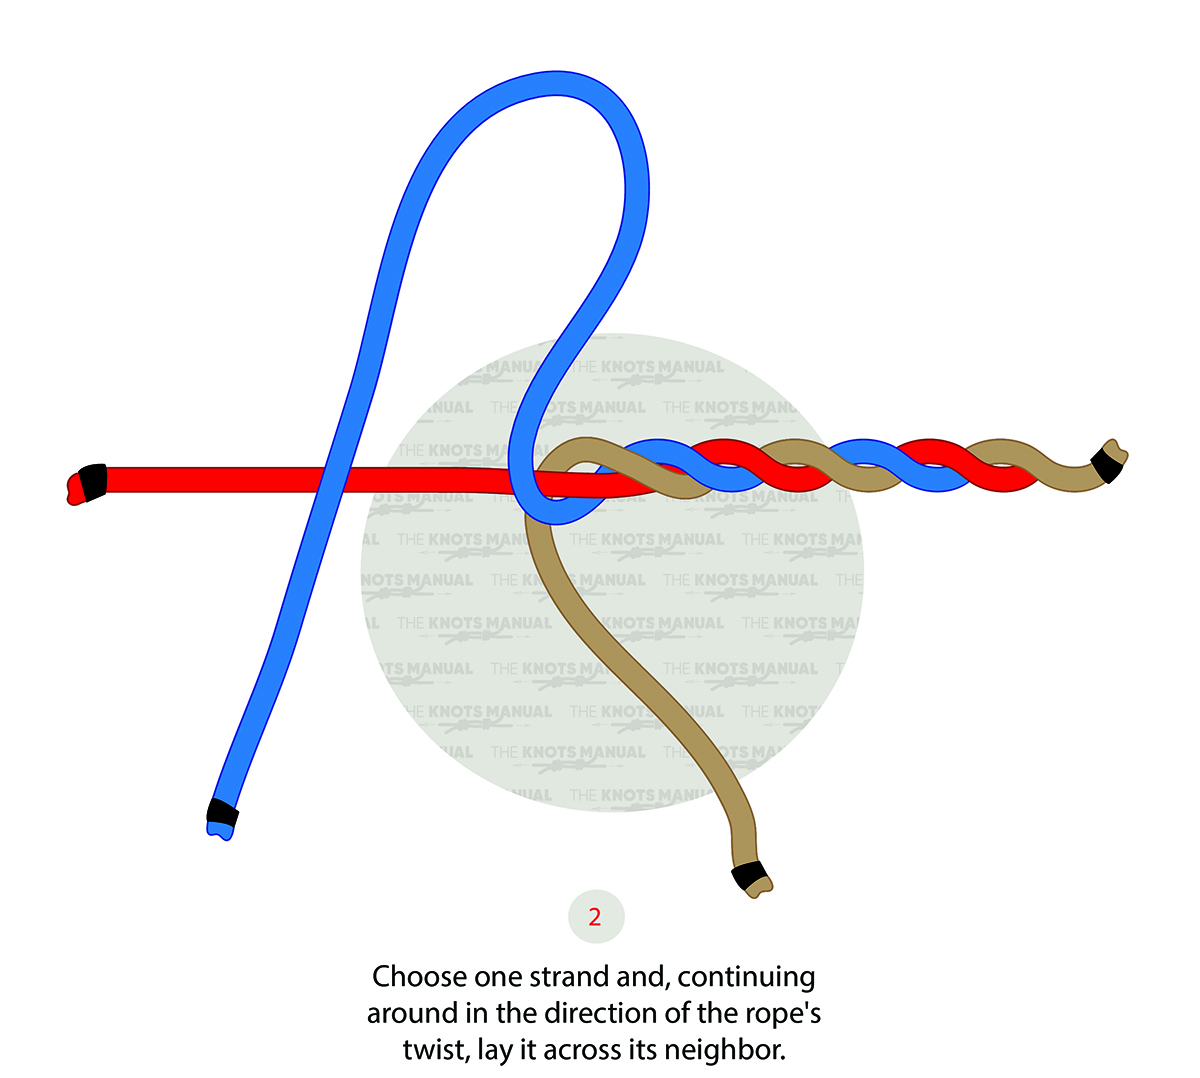
In the direction of the rope, lay one of the strands over the next one, creating a bight.
Step 3:
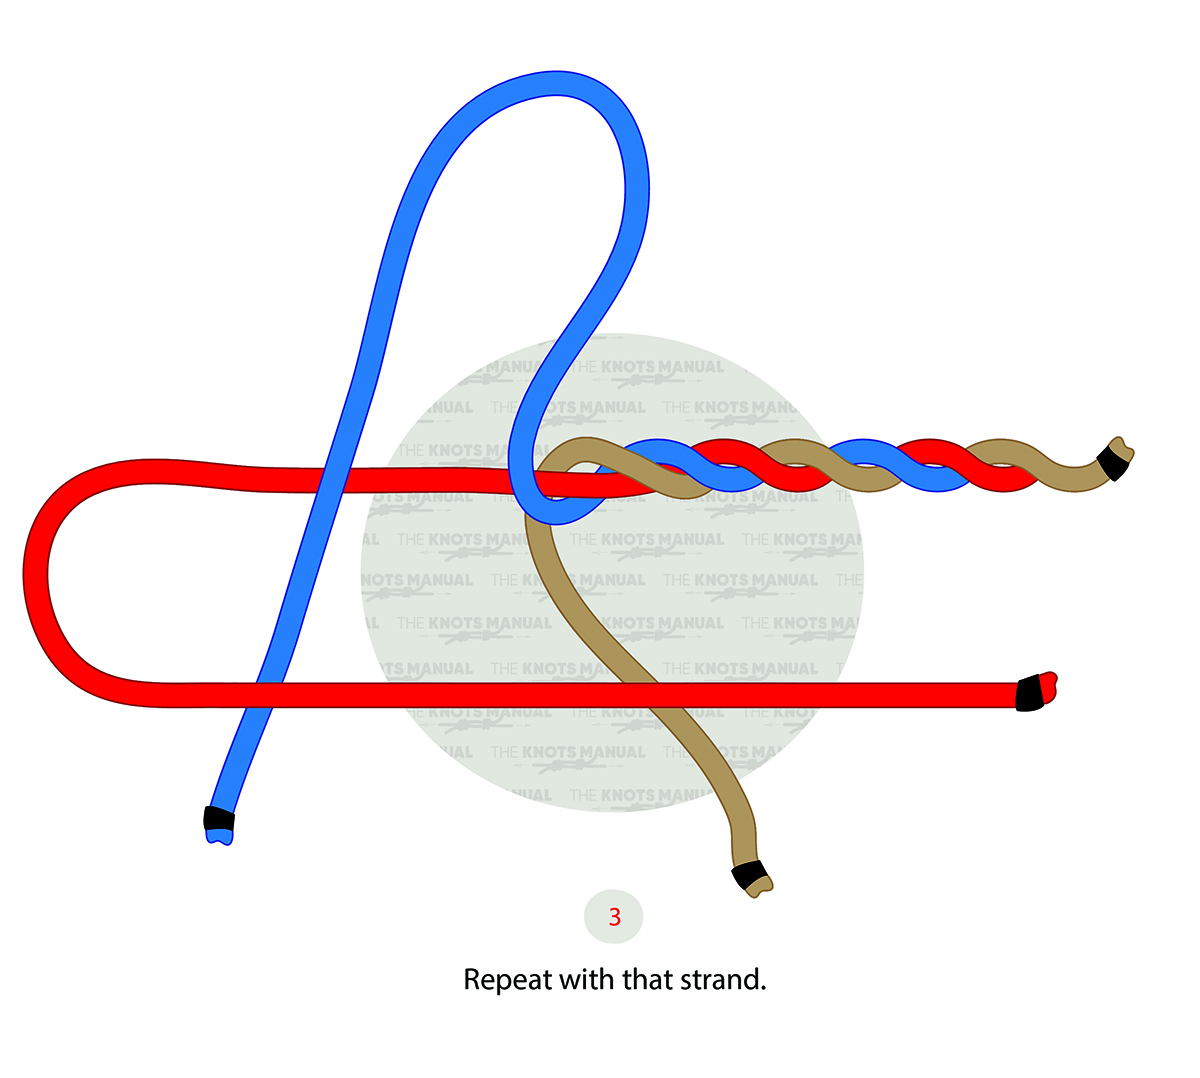
Repeat the same process with the next strand.
Step 4:
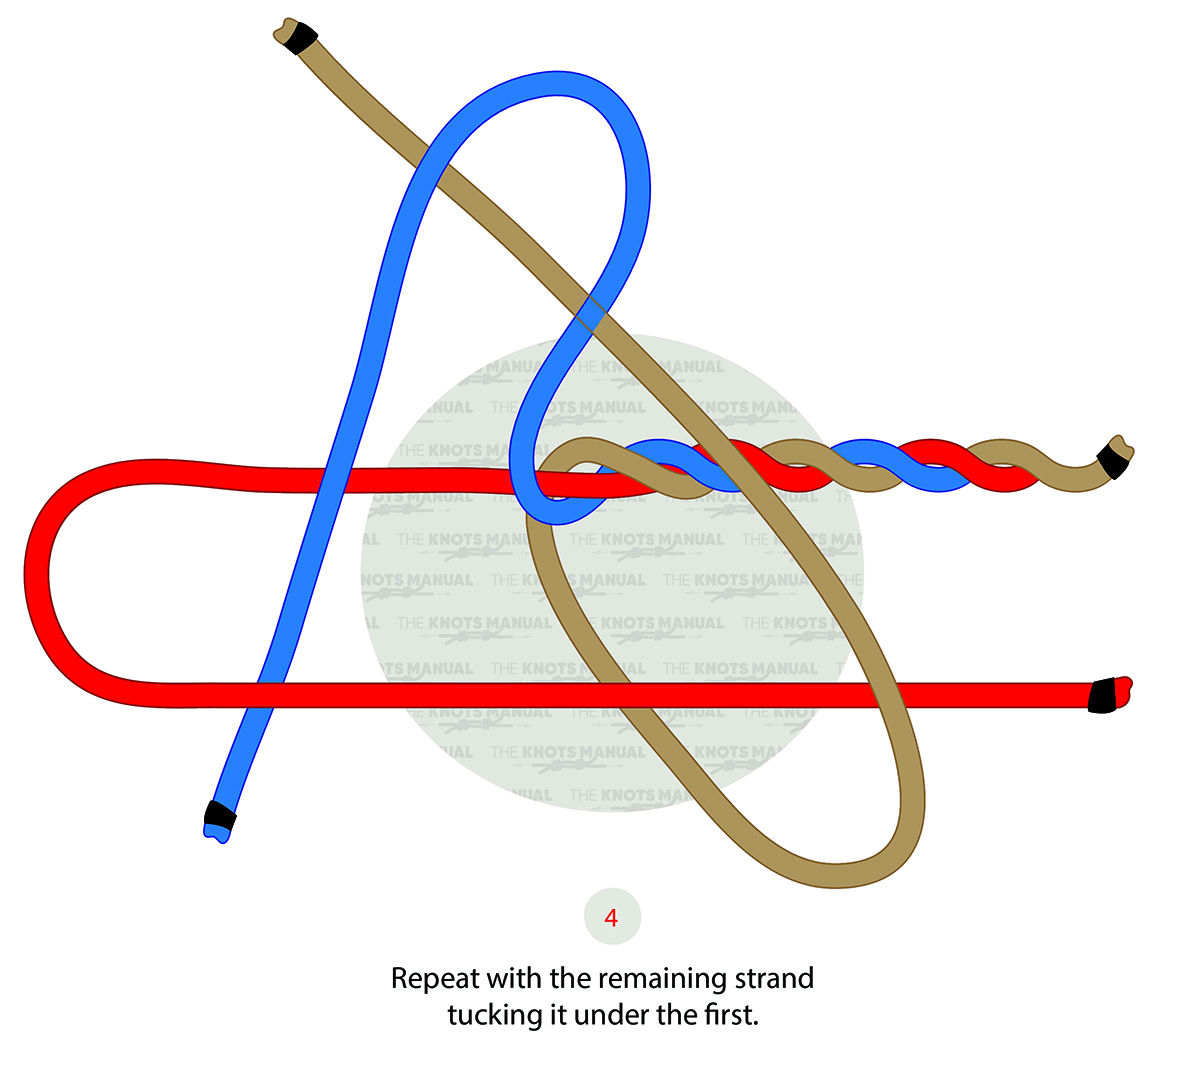
Tuck the remaining strand into the bight created in the first step.
Step 5:
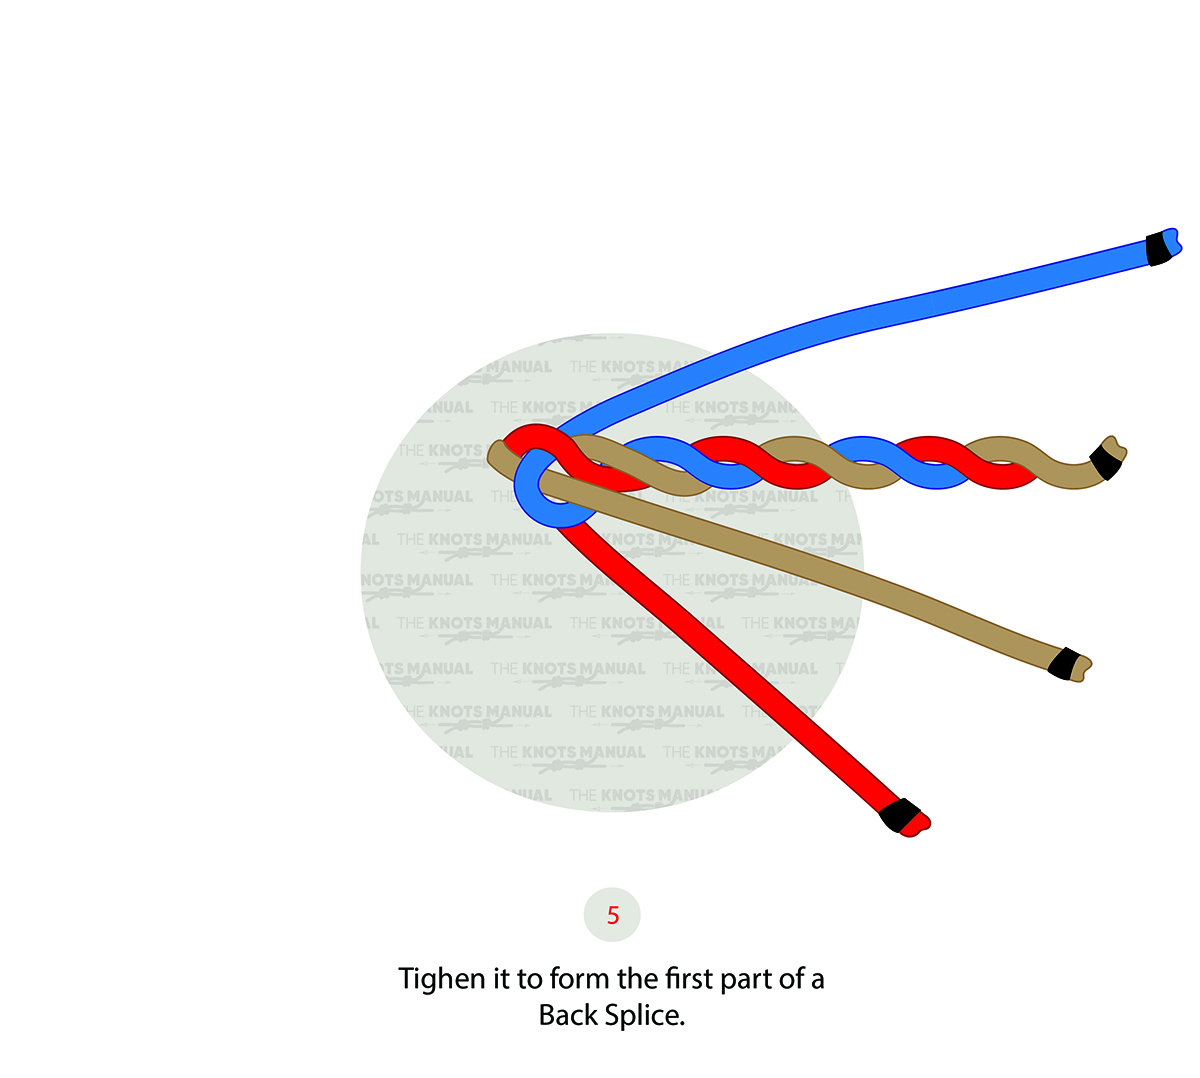
Tighten the knot by pulling each strand individually.
Frequently Asked Questions
What Things Can You Make With the Chinese Macrame Crown Knot?
You can make many Macrame patterns using the Crown Knot. This includes handles, flower pot hangers, dog leashes, bracelets, necklaces, keychains, and other decorative ropes.
Are There Any Alternatives to the Crown Knot?
The only alternative to the Crown Knot is the Wall Knot. It’s tied identically, except the strands are laid under one another. They’re similar in strength and can be used as alternatives.