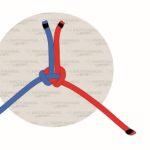
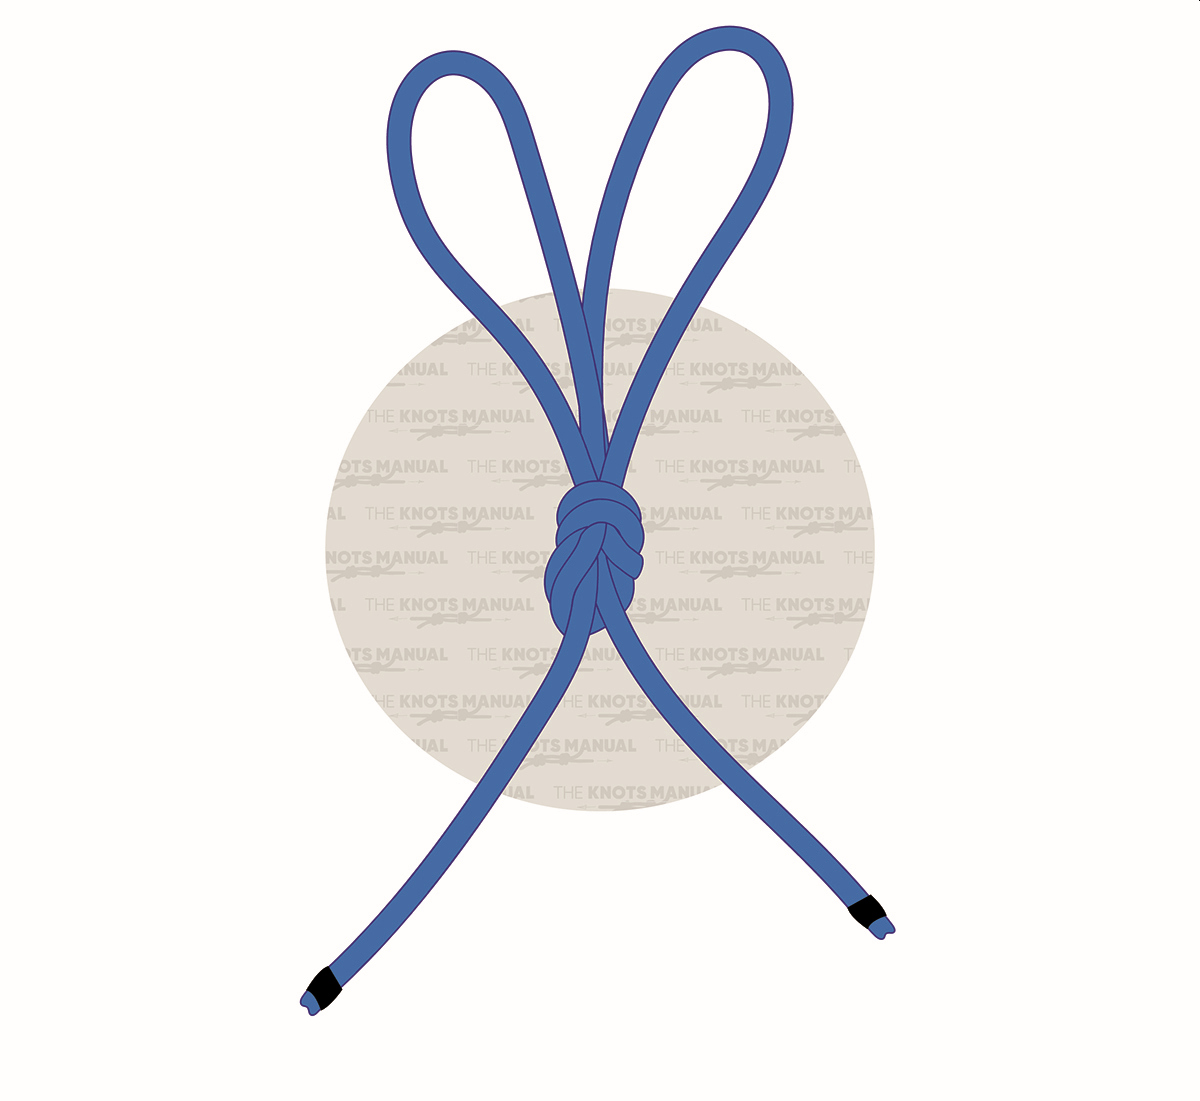
The Double Alpine Butterfly Loop is a knot that creates two fixed loops in the middle of a rope. It’s so useful because the loops can be used separately and the knot won’t come undone.
It’s based on the regular (single) Alpine Butterfly Loop. Because of this, it’s also sometimes referred to as the Double Lineman’s Loop, Double Harness Loop, or Double Artillery Loop.
Quick Guide: Tying the Double Alpine Butterfly Loop
The Double Alpine Butterfly Loop consists of 4 turns around your hand. In reality, it consists of 3 full turns because 2 of them are full and 2 are half-turns. But it’s easier to explain it this way because when looking from the front direction, there are 4 strands.
To tie it, lay out your left palm and wrap the rope around it in one full turn, with a large gap between the strands. Then do another two full wraps, but continue wrapping them downwards in the gap between the first two strands. After that, loosen the top two loops and pass them over and through the two bottom ones. Take out your hand and tighten the knot.
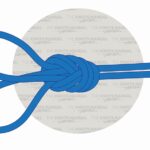
Before using the Double Alpine Butterfly Loop, make sure to dress it properly. Check that there are no loose strands and that they aren’t crossing one another.
To check that it’s tied correctly, look at it from both sides. On one side, there should be 3 sets of parallel lobes. On the other, there should be a set of 3 (almost) parallel lobes.
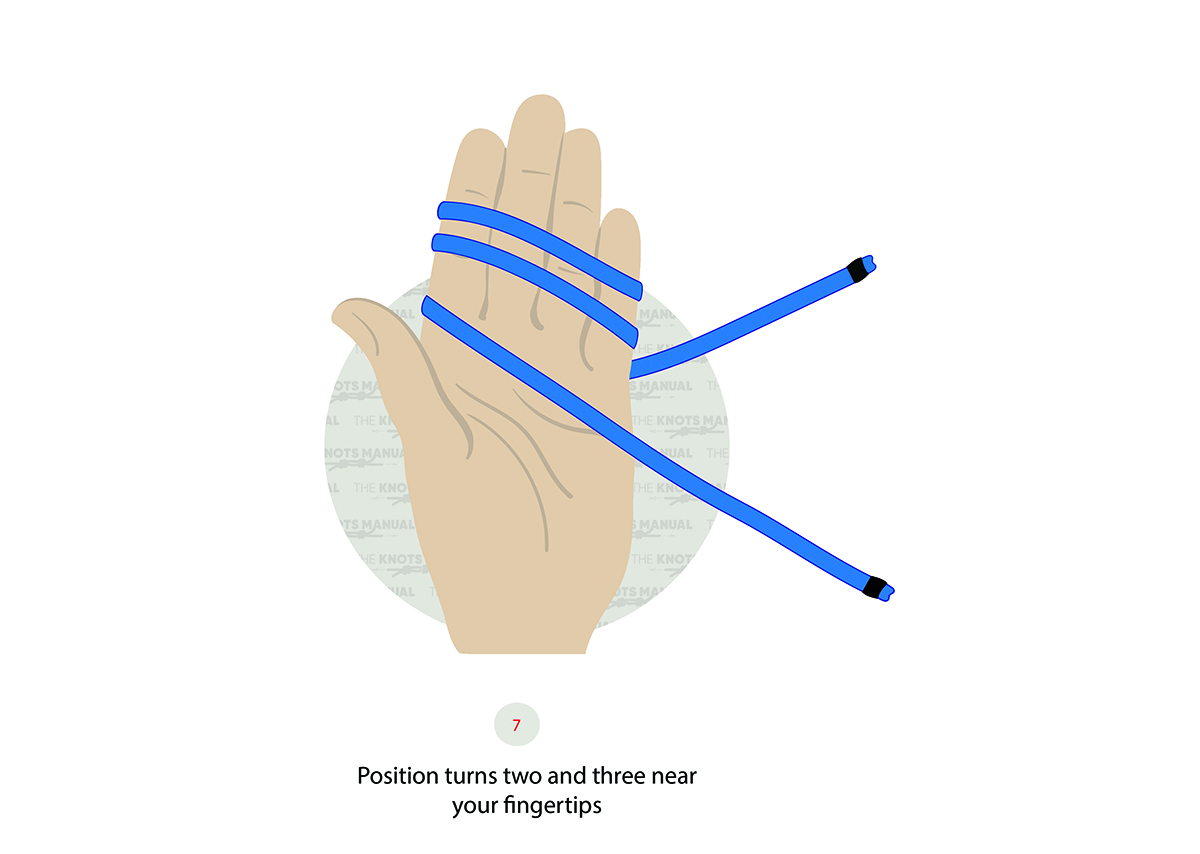
If you fail to tie it correctly, pay close attention to how you wrap the turns around your hand. The first one should be on the bottom of your hand and the second one should be on the top, near your fingers. The third strand should be under the second one and the fourth one under the third one.
Pros and Cons of the Double Alpine Butterfly Loop
The Double Alpine Butterfly Loop has gained so much popularity because it’s a very easy knot to tie and remember. That’s why it’s often taught to beginner climbers as one of the most important climbing knots.
Another benefit is that it doesn’t need either end of the rope to be free. They can be attached to different attachment points, but there should be some slack in the rope.
It’s also a very secure and reliable knot. If you clip into only one of the two resulting loops, the knot shouldn’t collapse on itself. The ends of the rope also don’t have to be attached to anything.
The only downside of the Double Alpine Butterfly Loop is that it can jam with stiff ropes or when loaded with heavy shock loads. But it can still be untied with a bit of patience.
Common Uses for the Double Alpine Butterfly Loop
Most commonly, the Double Alpine Butterfly Loop is used in climbing, mountaineering, and search and rescue. It creates two strong and reliable attachment points in the middle of the rope, which the person can clip into. By making a series of these knots along a rope, a safe clip-in system is created.
It can also be used to tension a rope by tying other ropes into the loops and pulling them in sideways directions.
Sometimes, this knot is also used to create two extra attachment points for various winching and rigging setups. This takes some of the load off from the main attachment point.
Knots Like the Double Alpine Butterfly Loop
Double Figure 8 Knot (Bunny Ears): This knot is very similar to the Alpine Butterfly Loop, so it’s used in similar situations. Each of the loops can be loaded separately and it won’t come undone. Its main downsides are that it’s harder to untie and also more difficult to learn.
Bowline on a Bight: Another knot that creates two fixed loops in the middle of the rope. It’s also very easy to tie and reliable. Its main downside over the Double Alpine Butterfly Loop is that if you load only one loop with weight, the other one will tighten.
Spanish Bowline Knot: A similar knot to the Double Alpine Butterfly Loop. The loops aren’t as reliable, so it’s more commonly used in rescue work, not mountaineering and climbing.
French Bowline Knot: Like the Double Alpine Butterfly Loop, this knot also creates two fixed loops, except at the end of a rope. It’s very commonly used in rescue work as a Bosun’s Chair.
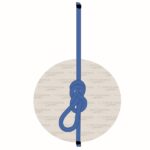
Alpine Butterfly Loop: Tied identically to the Double Alpine Butterfly Loop, except with one less turn. It’s also very commonly used in climbing and mountaineering to create a reliable attachment point. It’s also sometimes used to isolate a damaged section of a rope.
Farmer’s Loop: Instead of creating two loops, like with the Double Alpine Butterfly Knot, it creates a single one. It’s a more secure version of the Regular Alpine Butterfly Loop. It’s also tied very similarly, except with two extra steps.
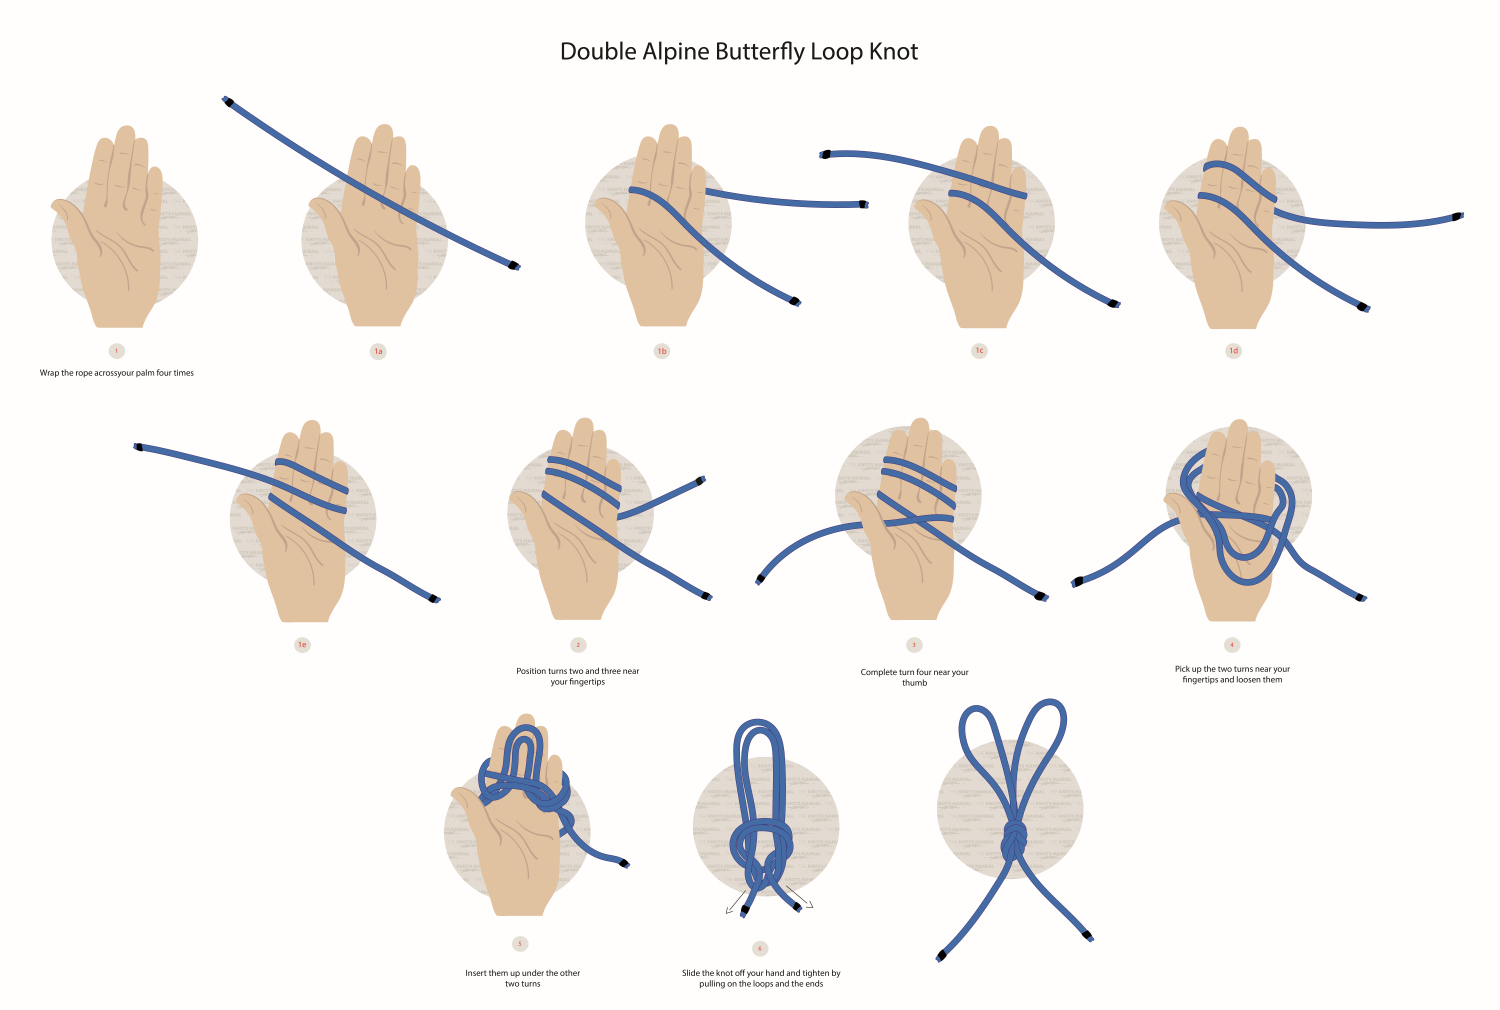
Step-By-Step-Guide: How to Tie the Double Alpine Butterfly Loop
A step-by-step guide on how to tie the Double Alpine Butterfly Loop.
Step 1:
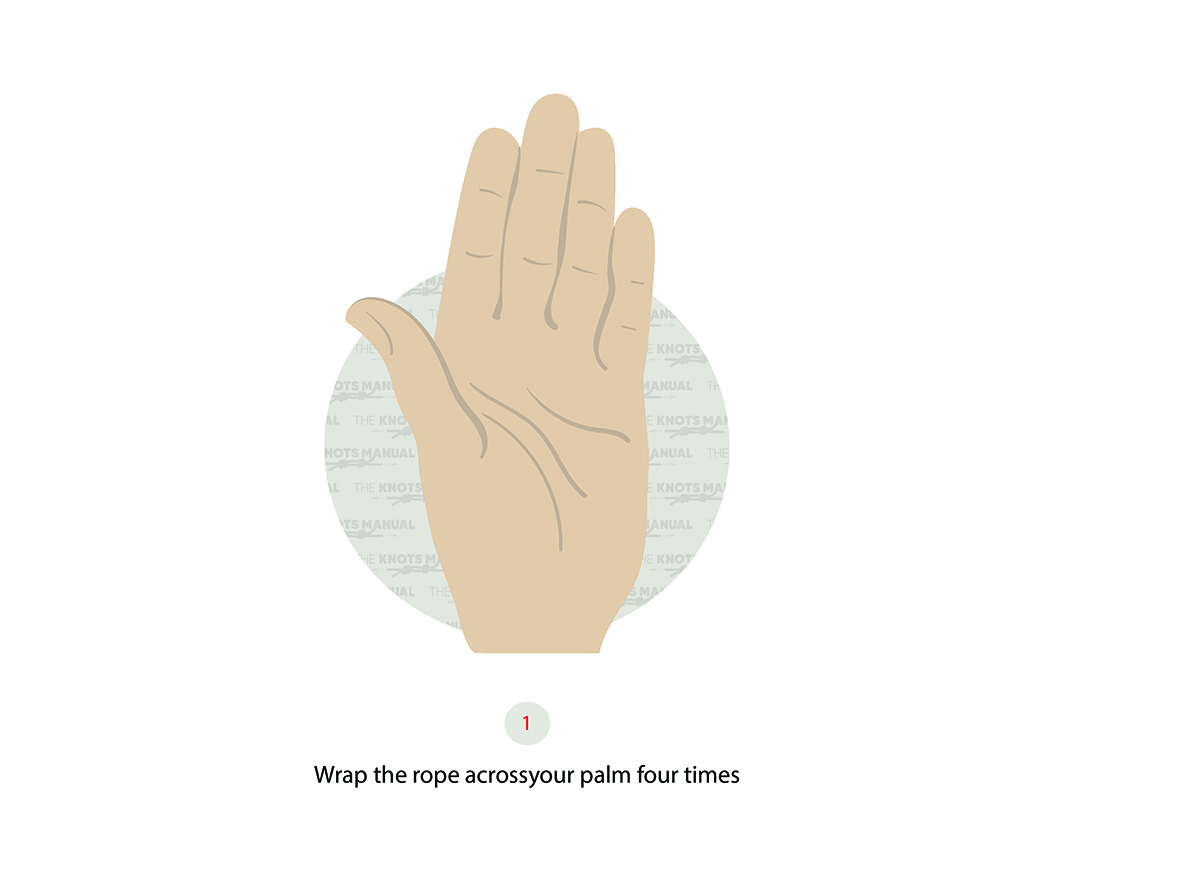
Hold your left hand wide open.
Step 1a:
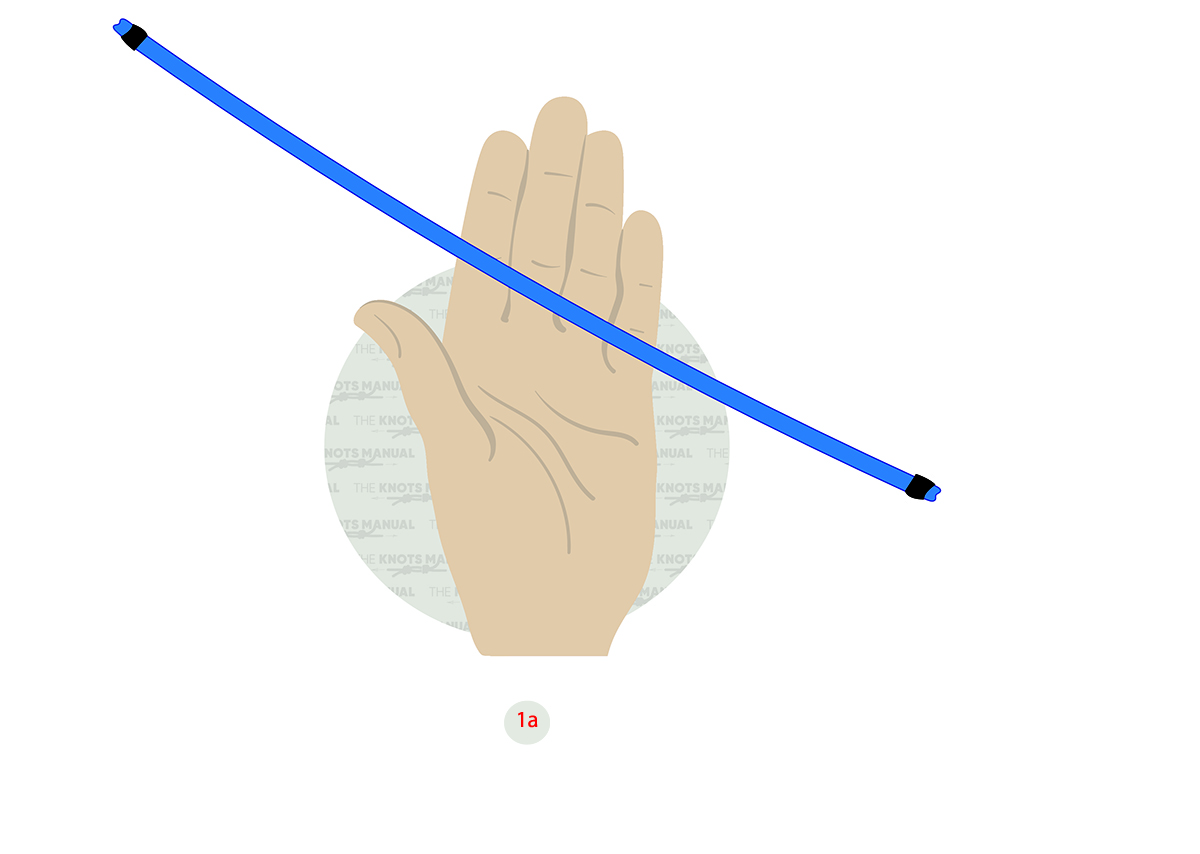
Place the end of the rope in front of it.
Step 1b:
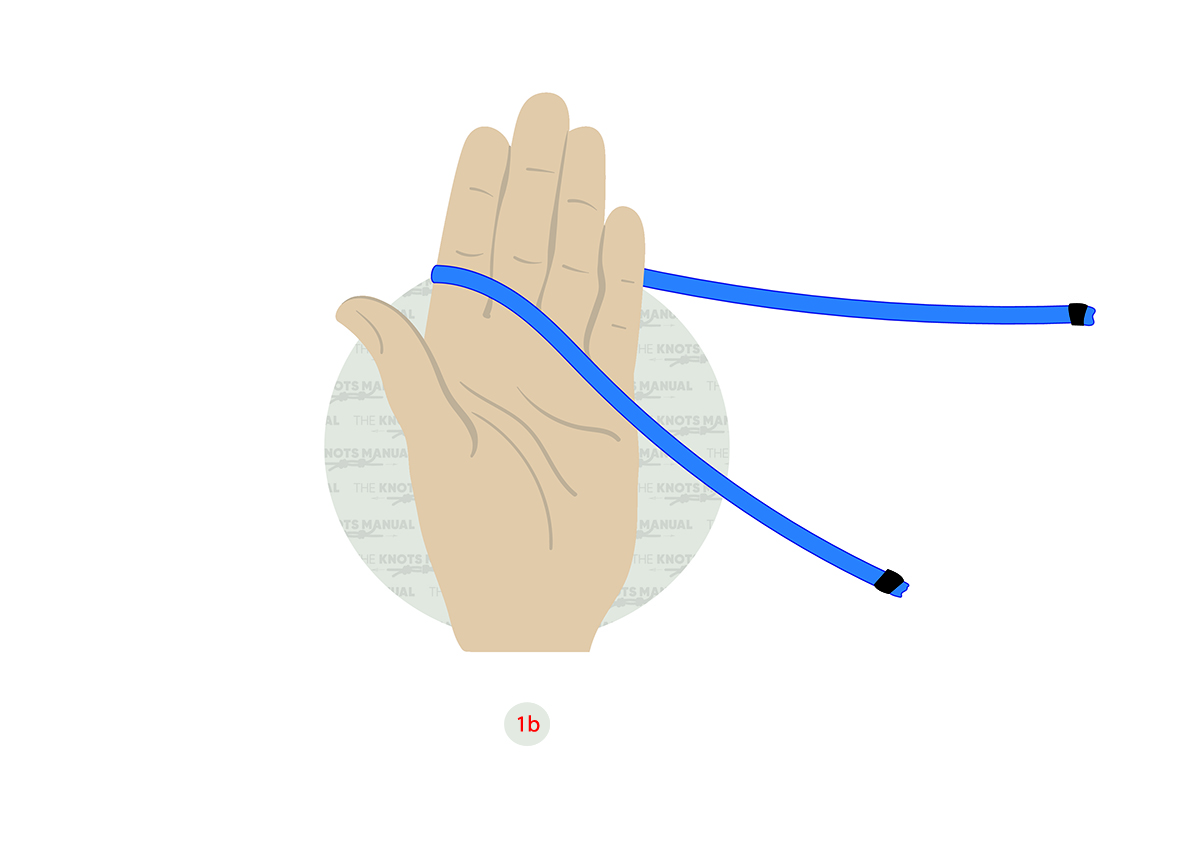
Wrap it around it clockwise.
Step 1c:
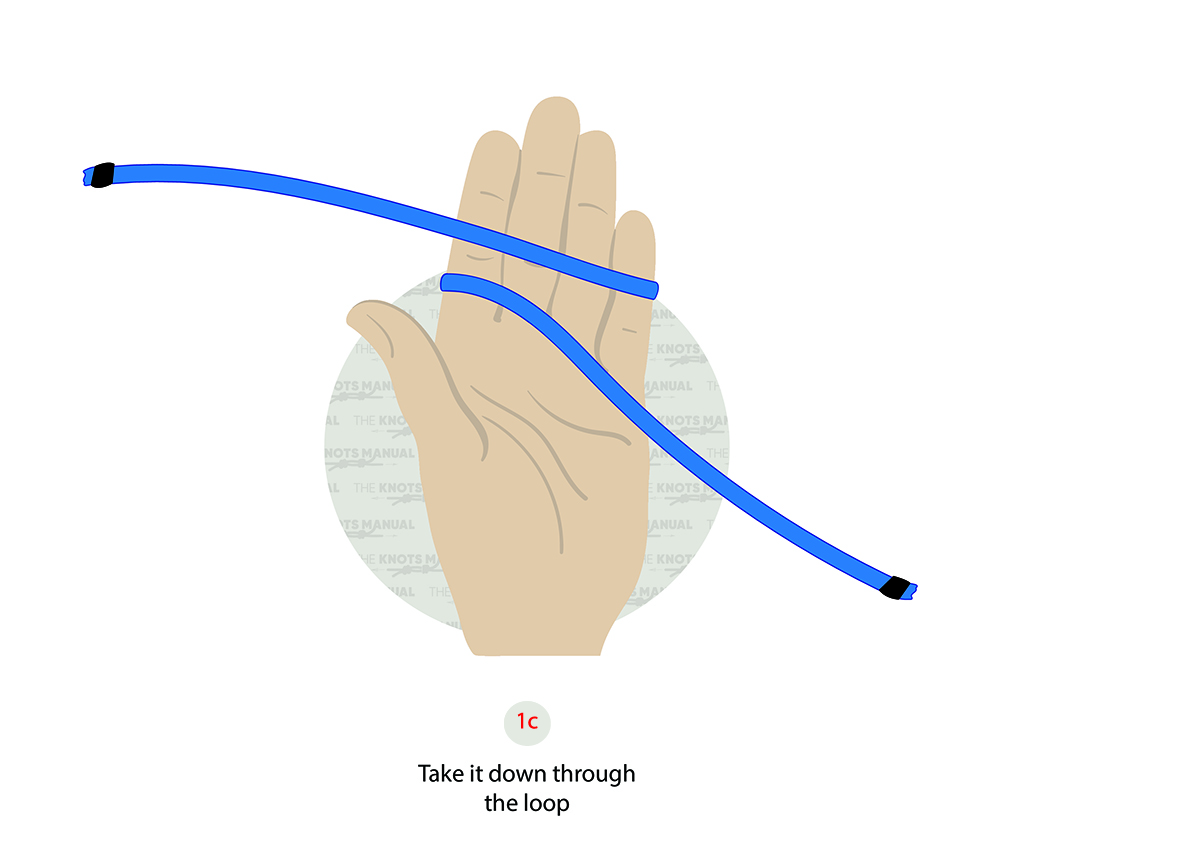
Do a single full turn.
Step 1d:
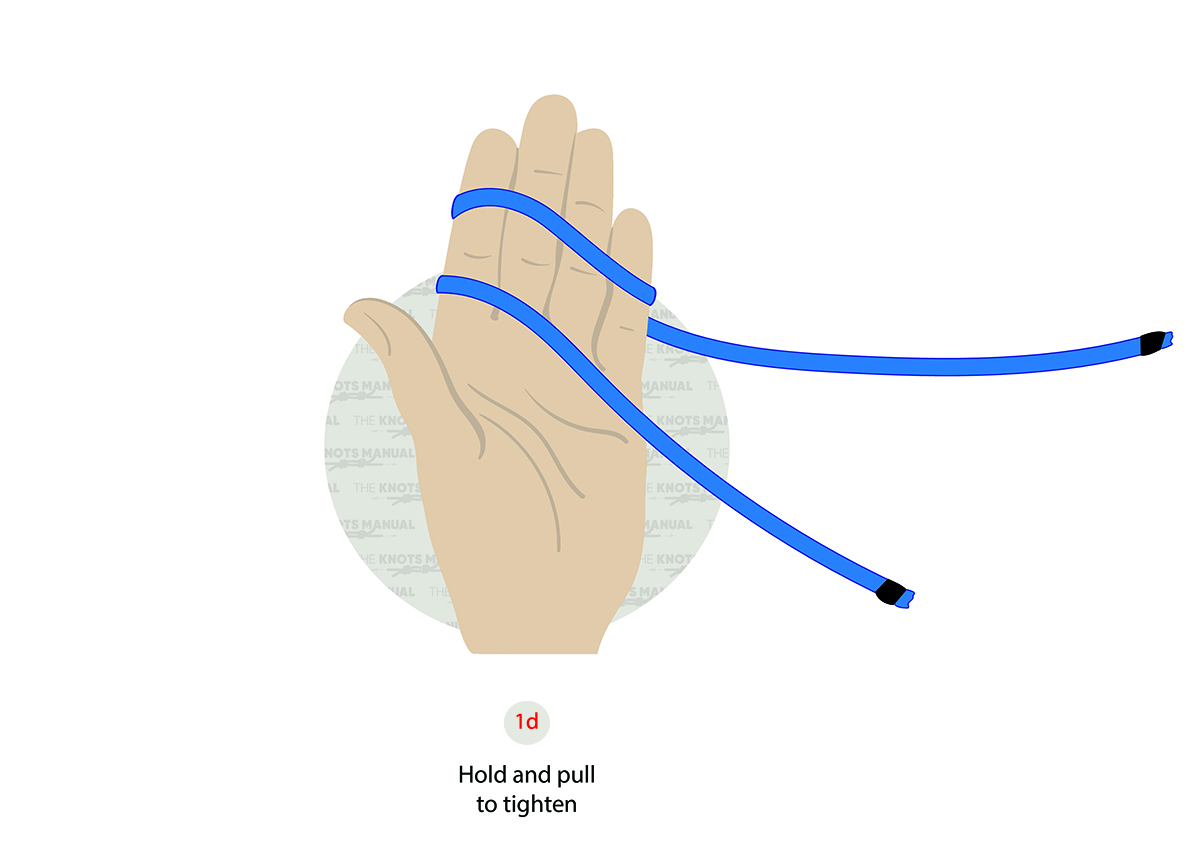
Continue wrapping it around, under the first full loop.
Step 1e:
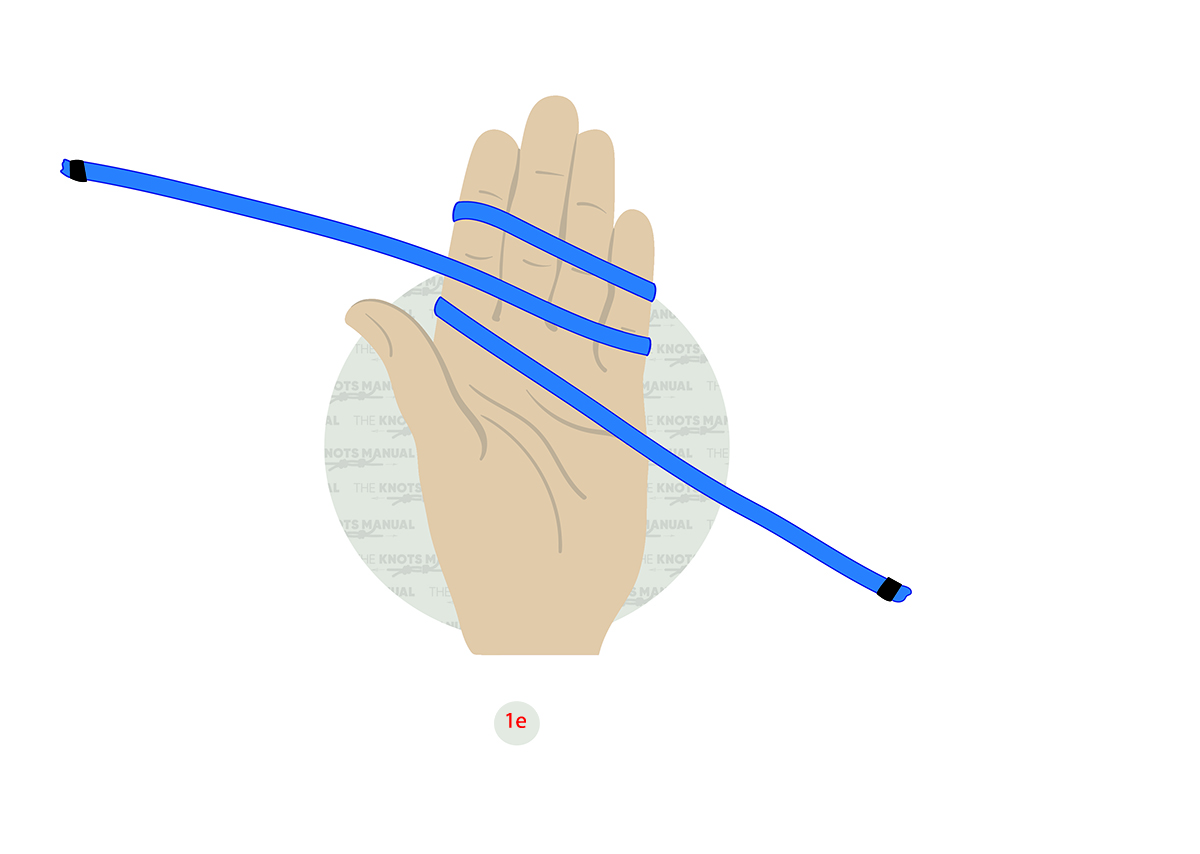
Do a second full turn between the first loop and the standing end.
Step 2:
Continue wrapping it downwards.
Step 3:
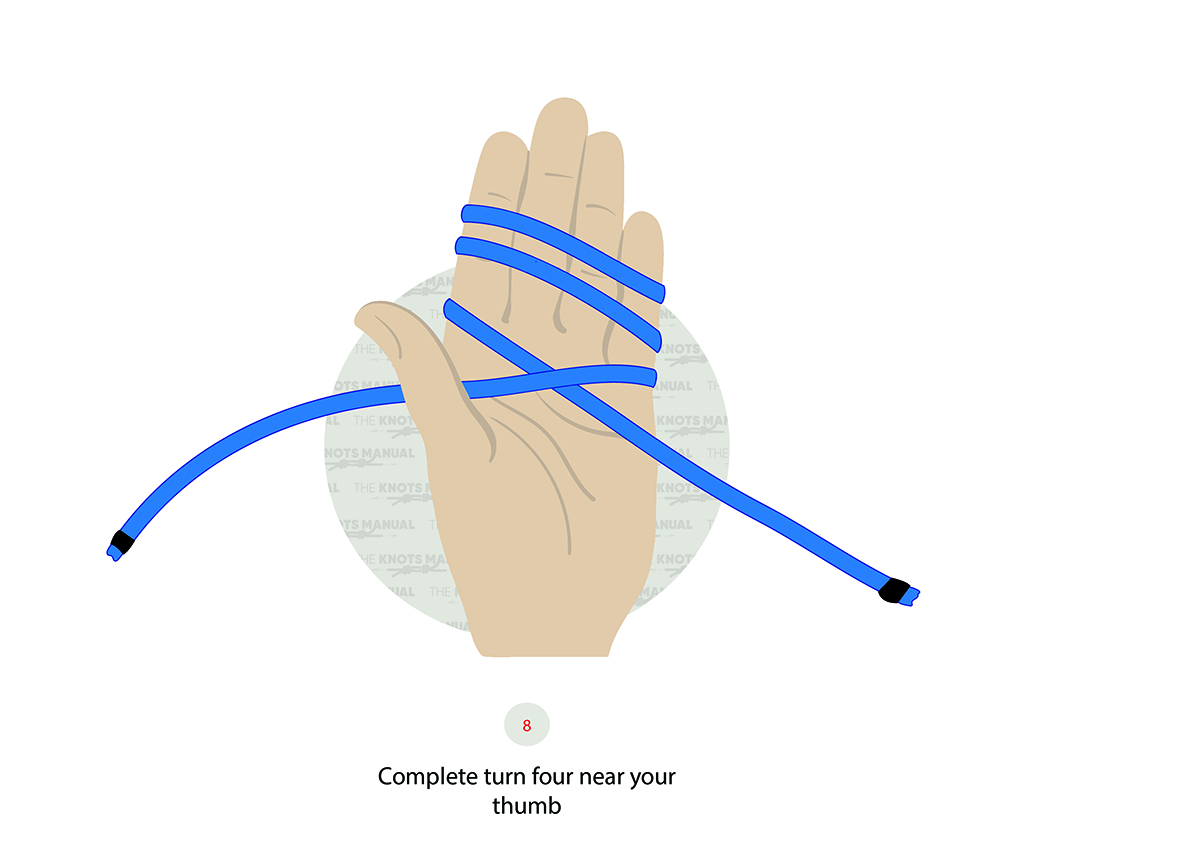
Do the third full turn and place the working end between your thumb and index finger.
Step 4:
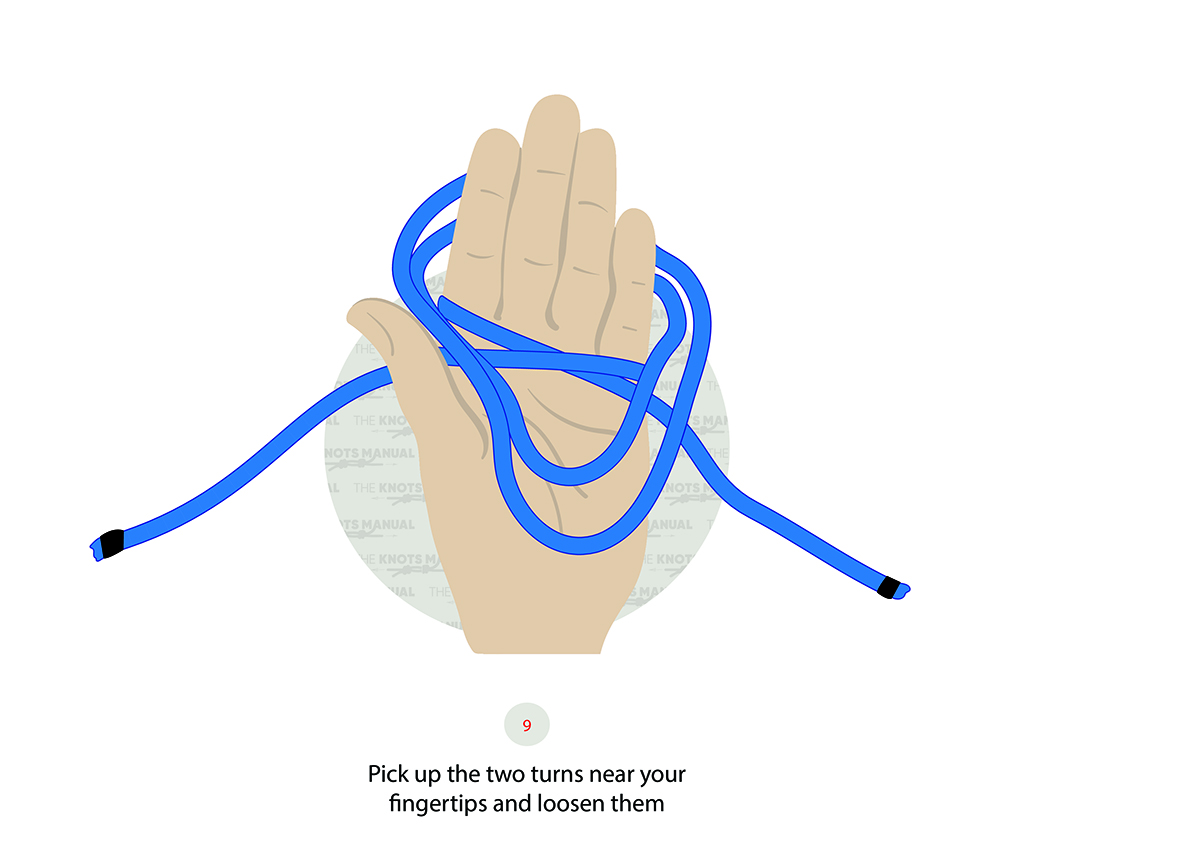
Loosen the two loops around your palms.
Step 5:
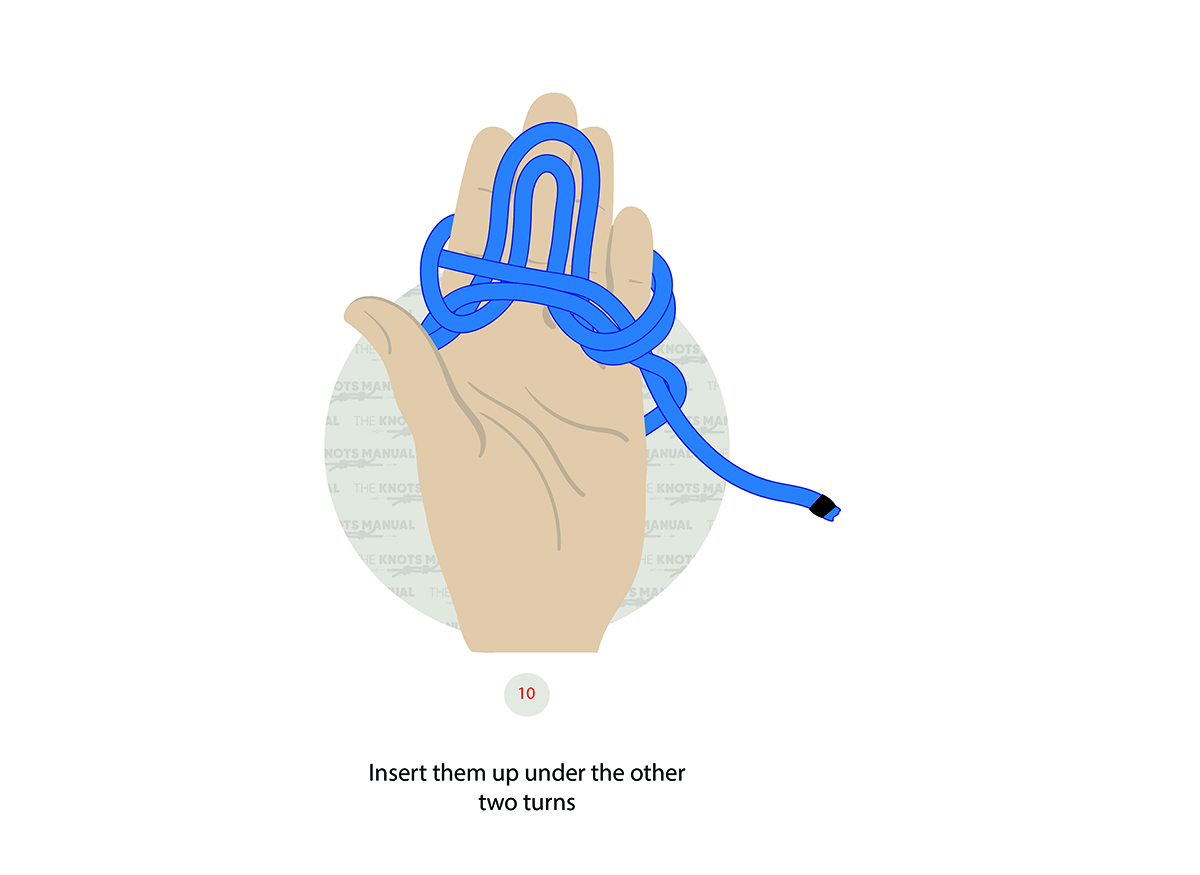
Pass both of them underneath the bottom strands.
Step 6:
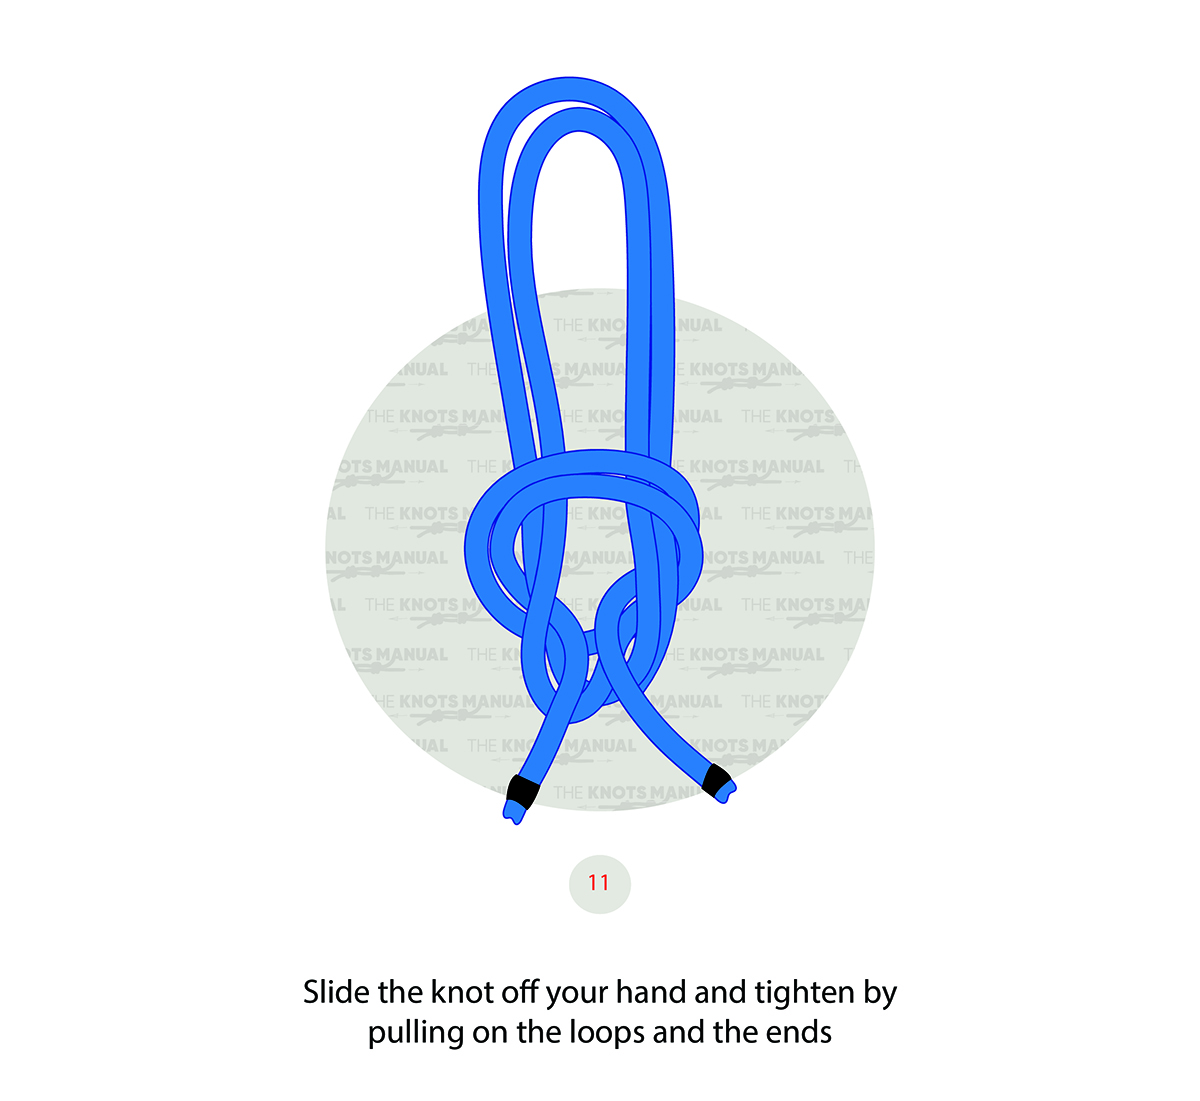
Take out your hand and tighten the knot.
Step 7:
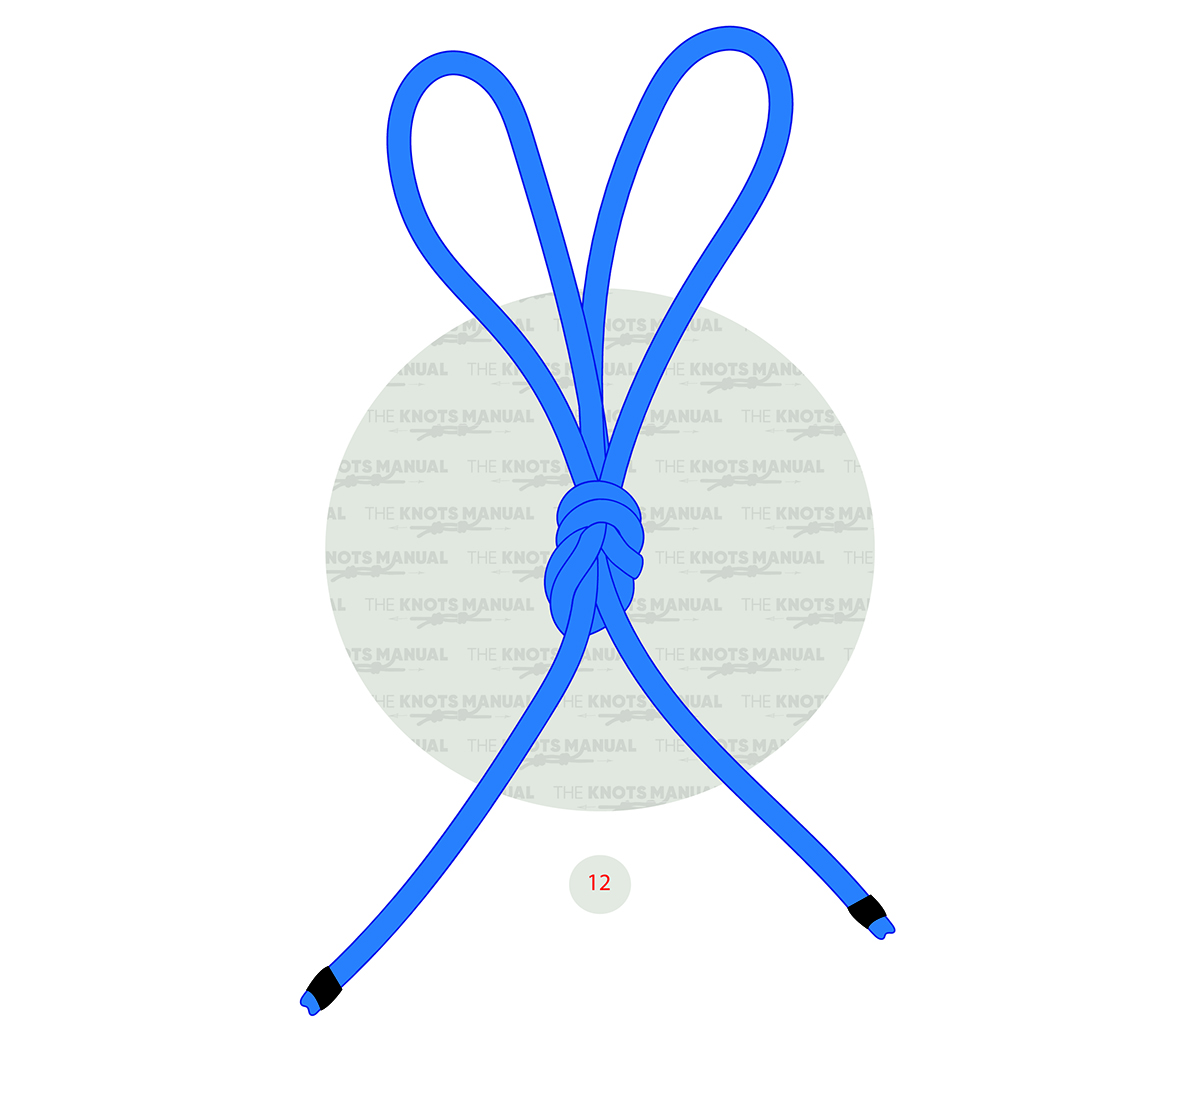
The Double Alpine Butterfly Loop Knot is finished.