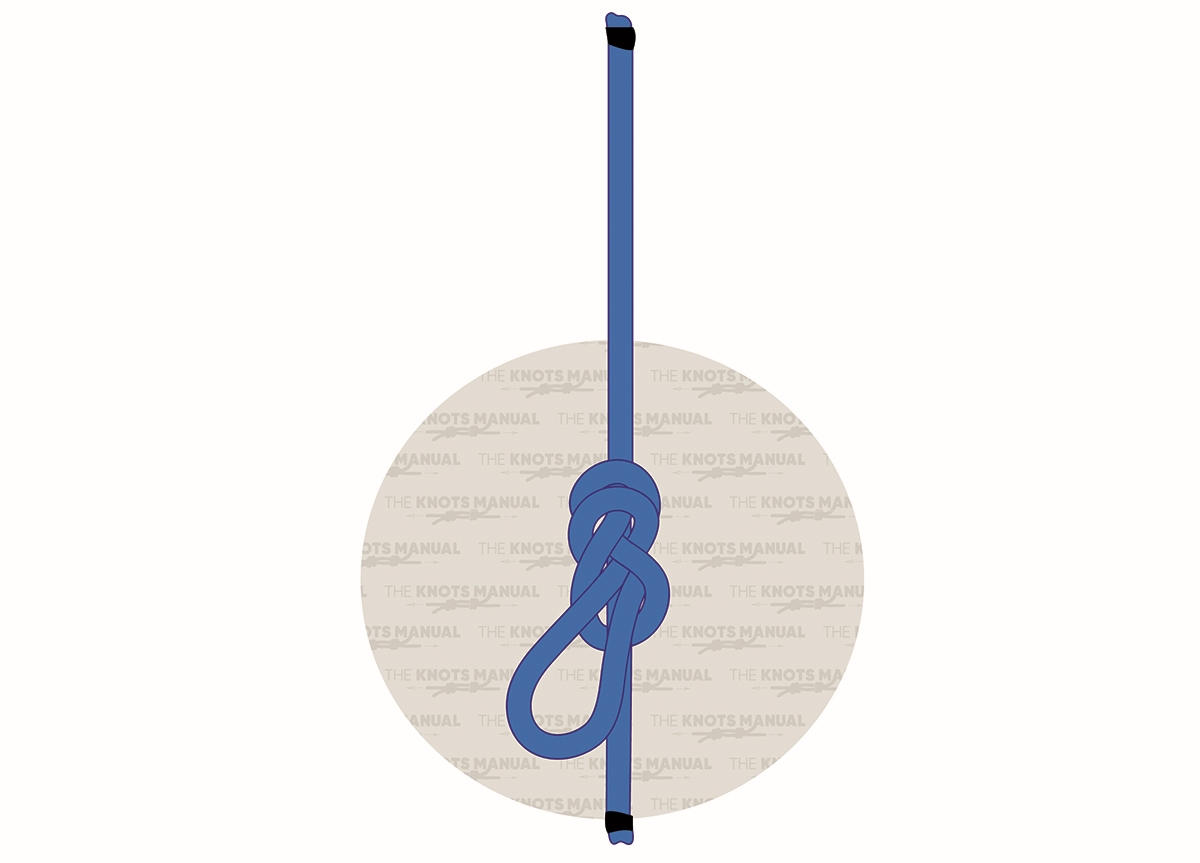
The Directional Figure 8 Loop is a knot that creates an eye (fixed loop) in the middle of the rope. This loop can then be pulled to tighten the rope or to create an attachment point.
In other sources, the Directional Figure 8 Knot is also referred to as “Inline Figure 8 Loop” or “Single Bowline on a Bight”. It’s the same knot, only named differently.
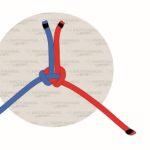
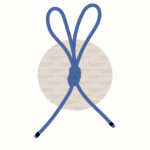
Quick Guide: How to Tie a Directional Figure 8 Loop Knot
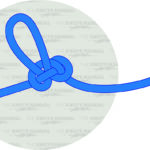
The Directional Figure 8 Loop Knot can be tied by creating a long loop, then passing it underneath and over the rope, and finally, passing it through the bottom opening from behind.
After finishing the knot, you can tighten it by pulling on both ends of the rope and the loop itself.
Note that in step 1a, the end of the rope crosses the loop, making a closed loop. But you can also tie this knot by creating an open loop and doing the rest of the steps identically. Both of these knots are similar in strength and performance. But by leaving the loop open (step 1a), you can create a knot that’s slightly easier to untie.
Pros and Cons of the Directional Figure 8 Loop Knot
One benefit of the Directional Figure 8 Loop is that you don’t need access to the working and standing ends of the rope. Both ends can be attached to objects while tieing this knot, but the rope must not be under load.
This knot is easy to tie and remember. It doesn’t have a false version that looks similar, so it’s very hard to tie incorrectly. That’s why it’s often taught to beginner climbers and mountaineers.
The Inline Figure 8 Knot is also a very strong knot. If used correctly (in the direction of the loop), this knot can be load-bearing.
The main downside to this knot is that it can only be used in one direction, opposite to the loop. If the other end of the rope is pulled, this knot capsizes and creates a noose, where the loop tightens and can become hard to untie.
But if used correctly, this can also be a benefit. Once you’re done with this knot, you need to detach from the loop, pull the rope in the opposite direction, and this knot will become loose and very easy to untie.
Common Uses for the Directional Figure 8 Loop Knot
The Directional Figure 8 Loop Knot is very commonly used in rock climbing, mountaineering, search and rescue, and hauling things.
With the Directional Figure 8 Loop, you can create a fixed loop within the rope, which you can use as a handle or an anchor to carry a load. That’s why it’s often used in mountaineering when you need to create an attachment point to an existing rope for other people to connect to.
This knot is also often used for tightening a rope between two points. This creates another point in the middle of the rope, to which you can attach another rope and tension it by securing it to another object.
It’s also essential for search and rescue to create improvised rescue systems, where mechanical advantage is used to haul heavy objects. It’s preferred over other knots because the size of the loop is easier to adjust than on other similar knots, and it’s easy to untie.
Knots Like the Directional Figure 8 Loop Knot
Alpine Butterfly Knot: Another very common knot used in mountaineering and climbing. Its main advantage over the Directional Figure 8 Loop is that it can be used in both directions. But it’s marginally harder to untie, a bit harder to learn, and it’s more difficult to adjust.
Bowline on a bight: This knot also creates a point of attachment in the middle of a rope, only with two loops. It’s also very commonly used in mountaineering, caving, and climbing because it creates a strong and secure connection that is easy to untie.
Double Figure 8 Loop: Very similar to Bowline on a Bight, only a bit easier to tie and harder to get wrong.
Overhand on a Bight: This is the easiest type of knot for creating anchors in the middle of a rope. It’s useful for situations where strength isn’t that important. But it shouldn’t be used in critical situations, because all knots outlined above are stronger than it.
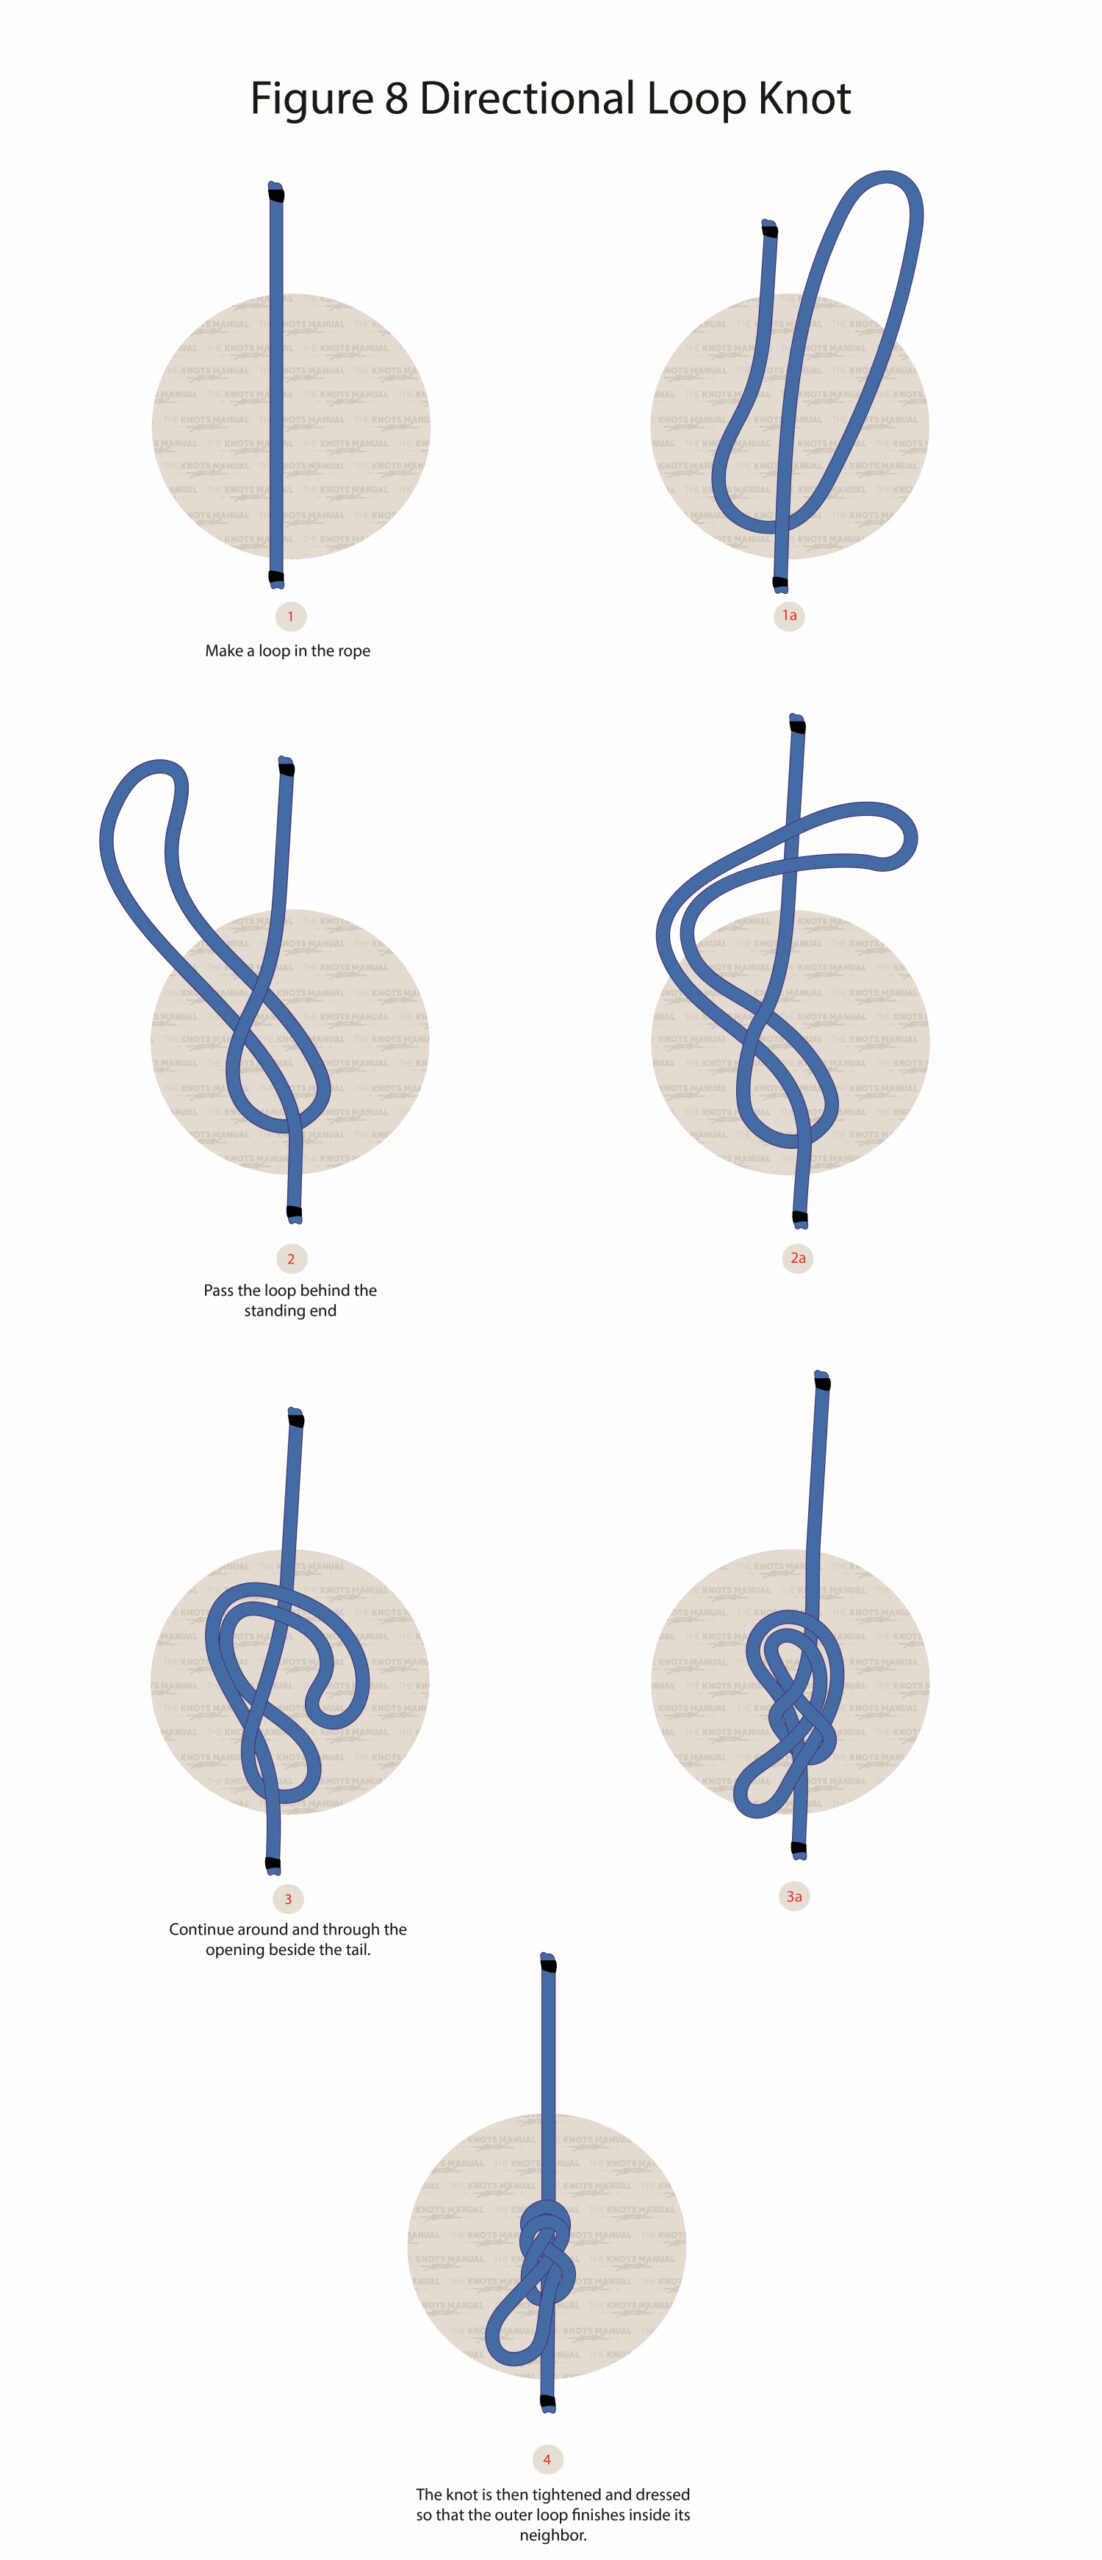
Detailed Step-By-Step Guide on Tying an Inline Figure 8 Loop Knot
Learn how to tie a Directional Figure 8 Loop Knot in a detailed step-by-step guide.
Step 1:
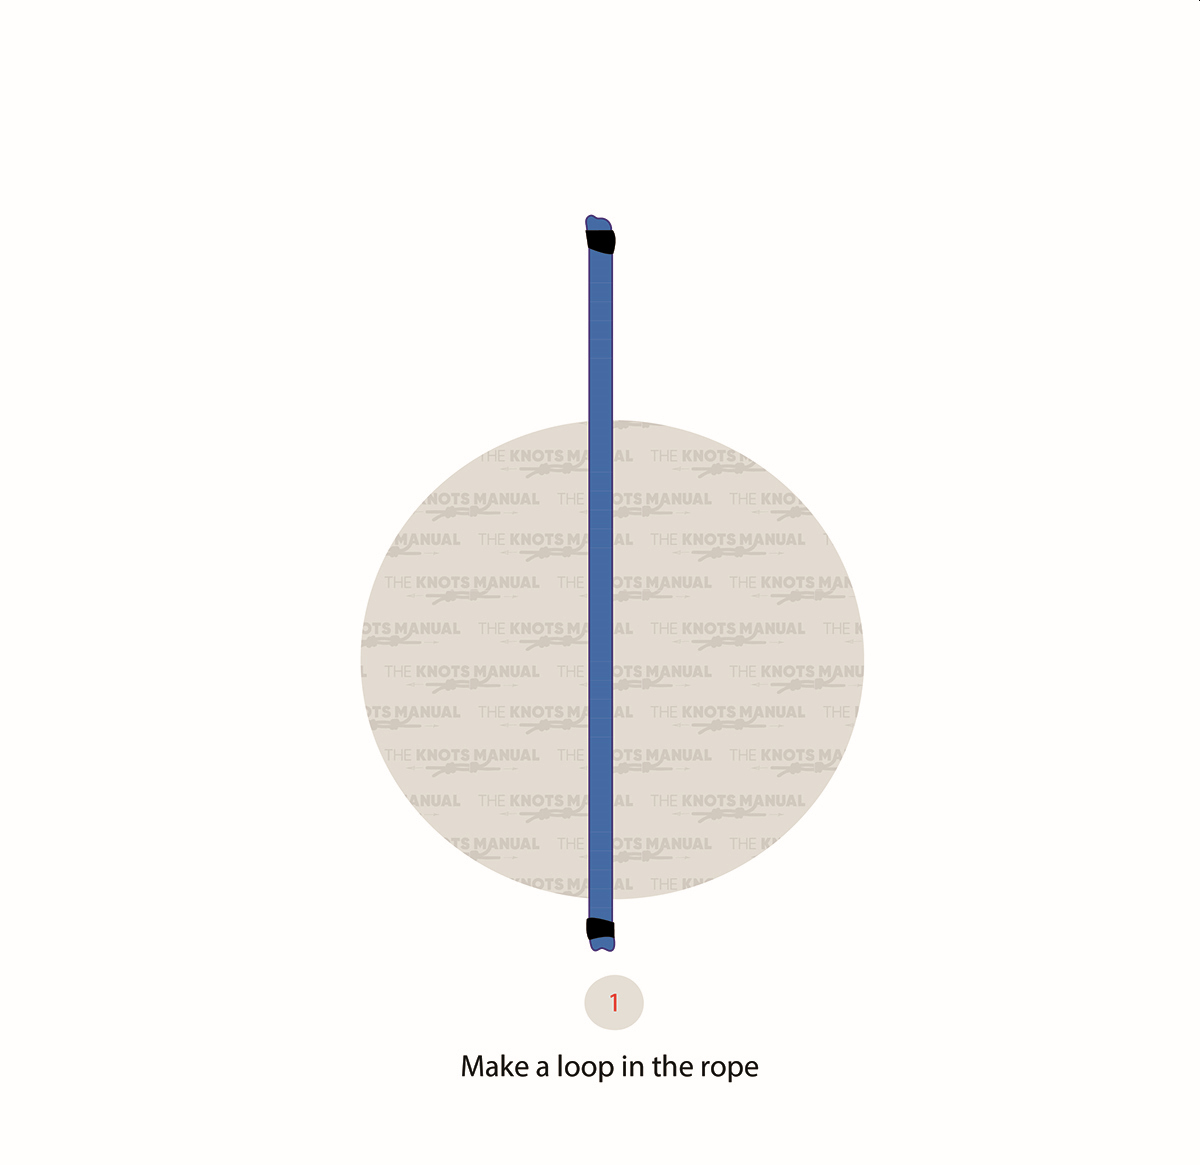
Ensure that the rope isn’t under tension and has at least 10-30 inches of play, depending on its thickness.
Step 1a:
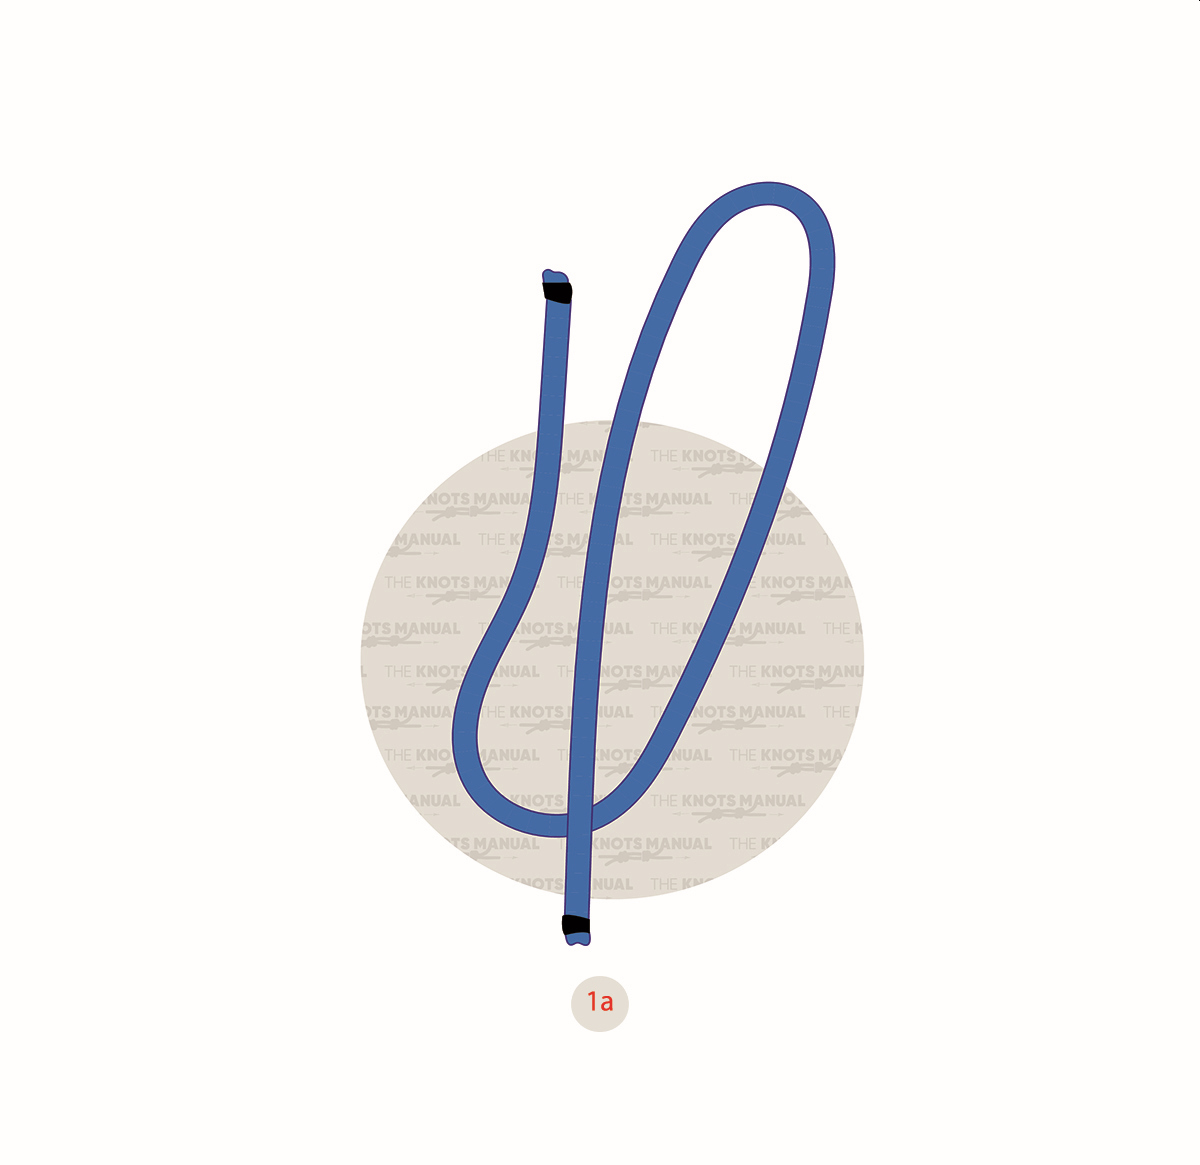
Make a rather long closed loop in the middle of the rope.
Step 2:
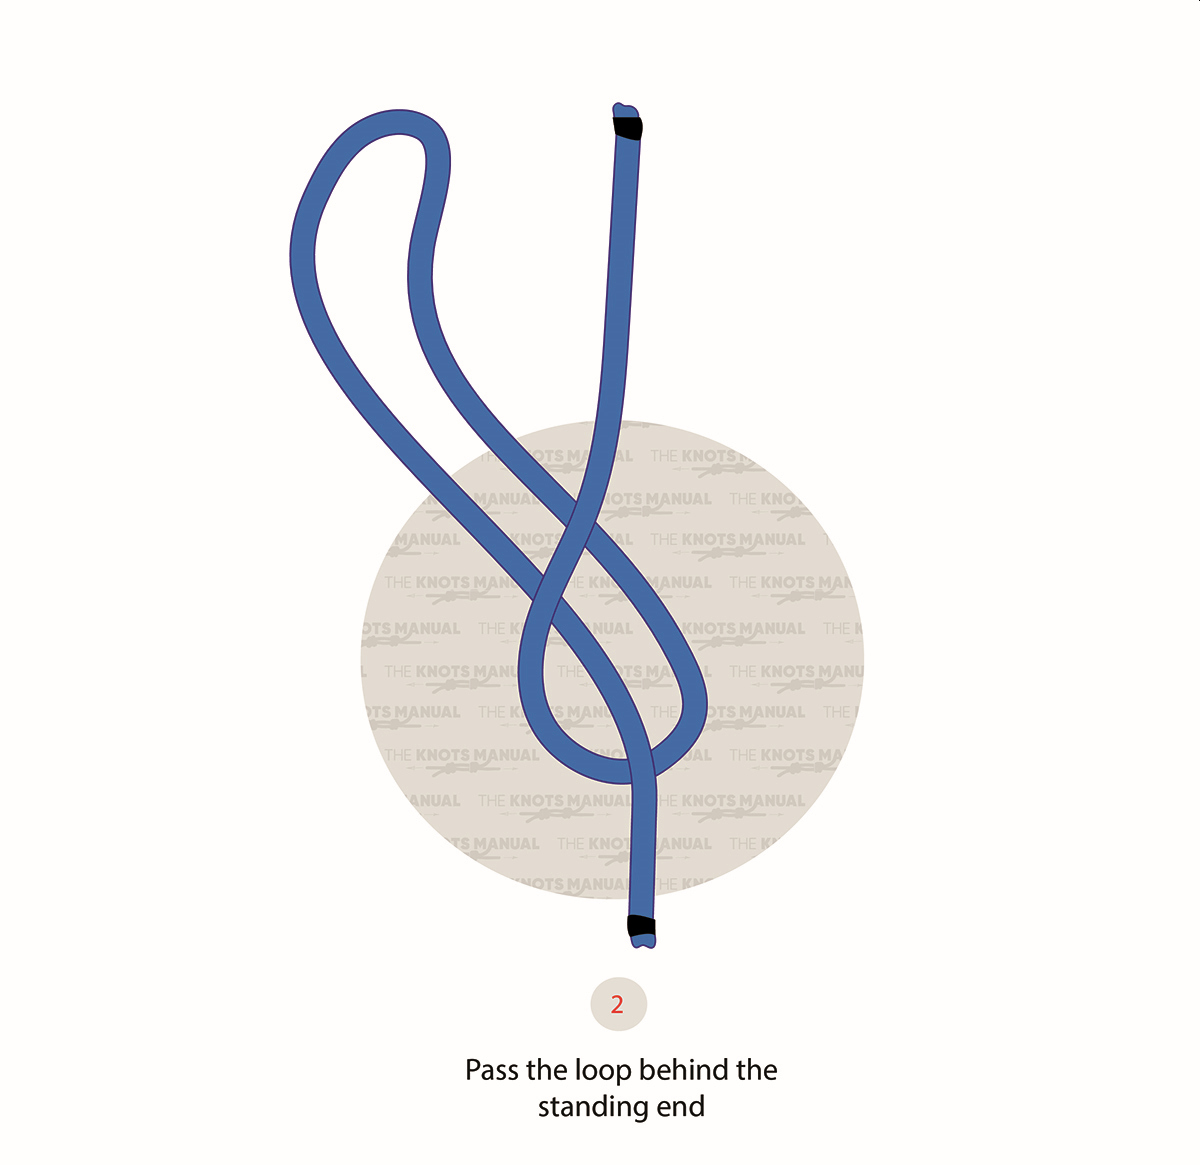
Pass the loop behind the standing end.
Step 2a:
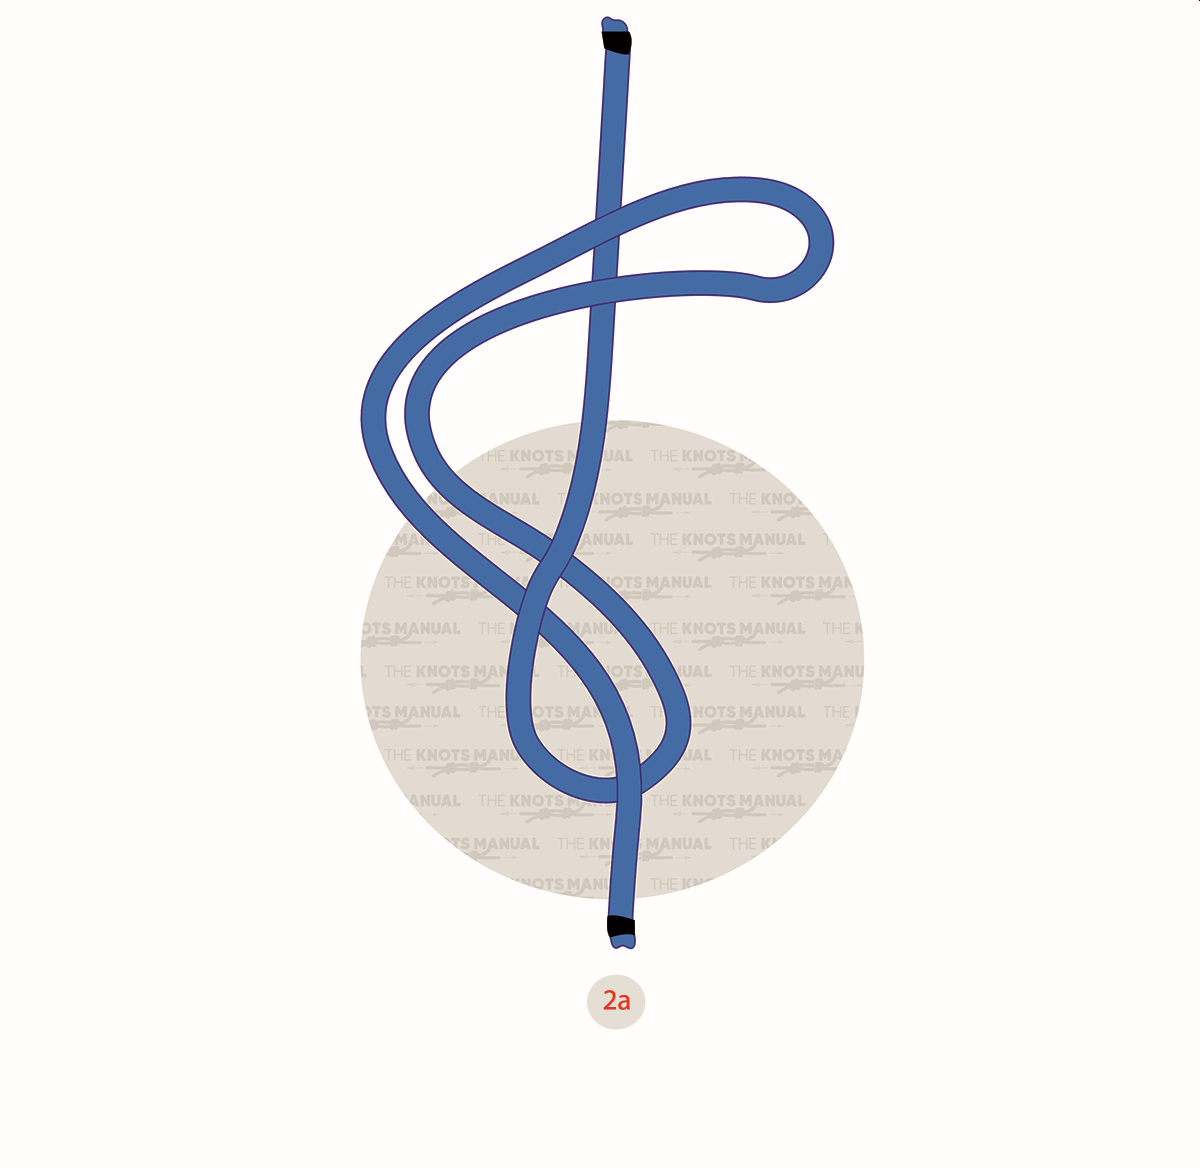
Pass the loop over the standing end.
Step 3:

Pass the loop through the bottom opening from the back in the direction of the working end.
Step 3a
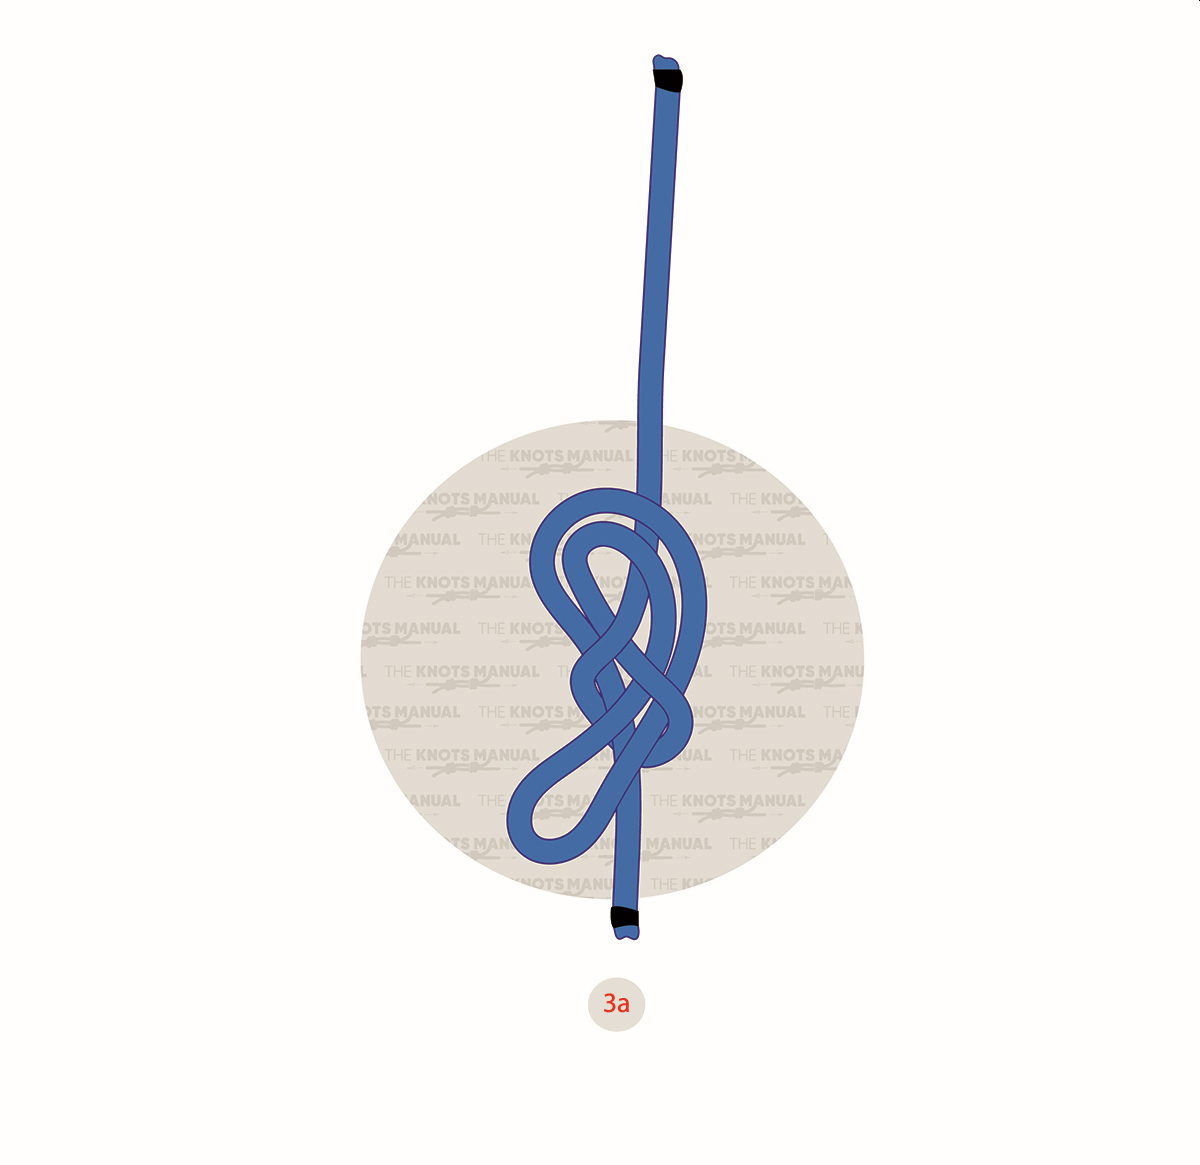
It’s vital that you pass the loop from behind, not from the front.
Step 4:
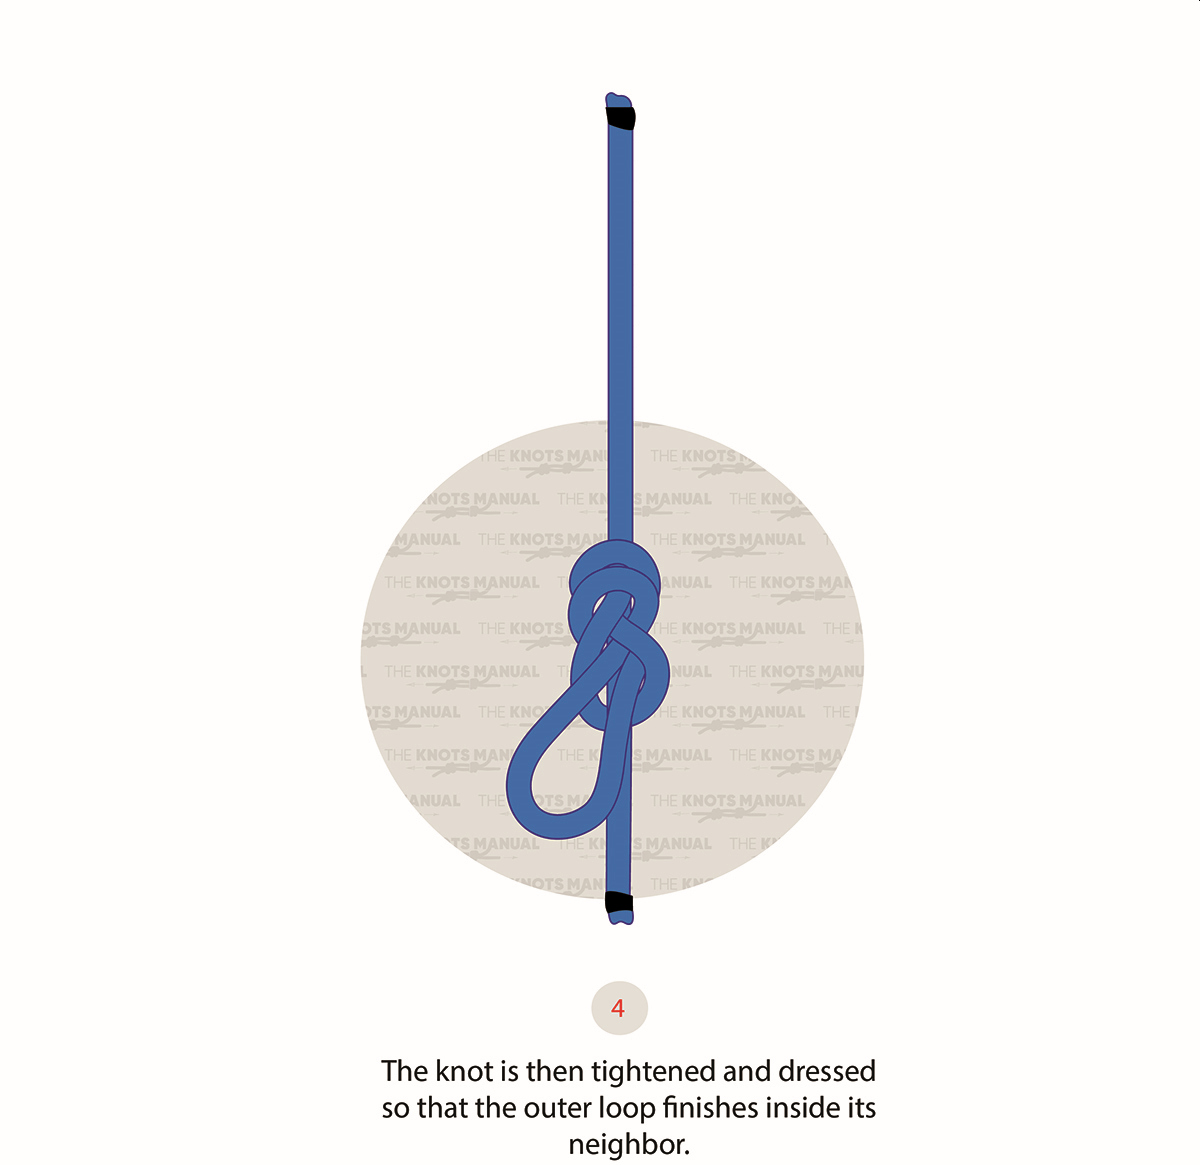
To tighten the knot, pull the loop and the opposite end of the rope, and then both ends of the rope.
Frequently Asked Questions
How Strong Is the Figure 8 Directional Loop Knot?
The Directional Figure 8 Loop Knot is strong enough to carry a load. It can be used in critical situations, where you need to create an attachment point in the middle of a rope. But to maintain its strength, it needs to be used correctly. Your main force should always be between the loop and the opposite end of the rope – otherwise, the knot capsizes.
What’s Better for Climbing – The Inline Figure 8 or the Alpine Butterfly Loop?
The Inline Figure 8 Loop is more commonly used in climbing and mountaineering than the Alpine Butterfly Loop. That’s because, in these applications, the rope is usually holding weight vertically, which works perfectly for the Inline Figure 8 Loop.
But the Alpine Butterfly Loop has one advantage – it can be used in both directions, which can be useful if you need to attach to a rope perpendicularly, at a 90-degree angle. The Inline Figure 8 is also marginally less strong than the Alpine Butterfly Loop, but it’s easier to learn, it’s easier to untie, and the size of the loop can be adjusted more easily.
In reality, the Alpine Butterfly Loop can be used in all situations where an Inline Figure 8 can, but it doesn’t work the other way around. So if you want to learn only one knot, the Inline Figure 8 can be substituted with an Alpine Butterfly Loop. But you should learn another variation for climbing – Figure 8 Follow Through Knot.