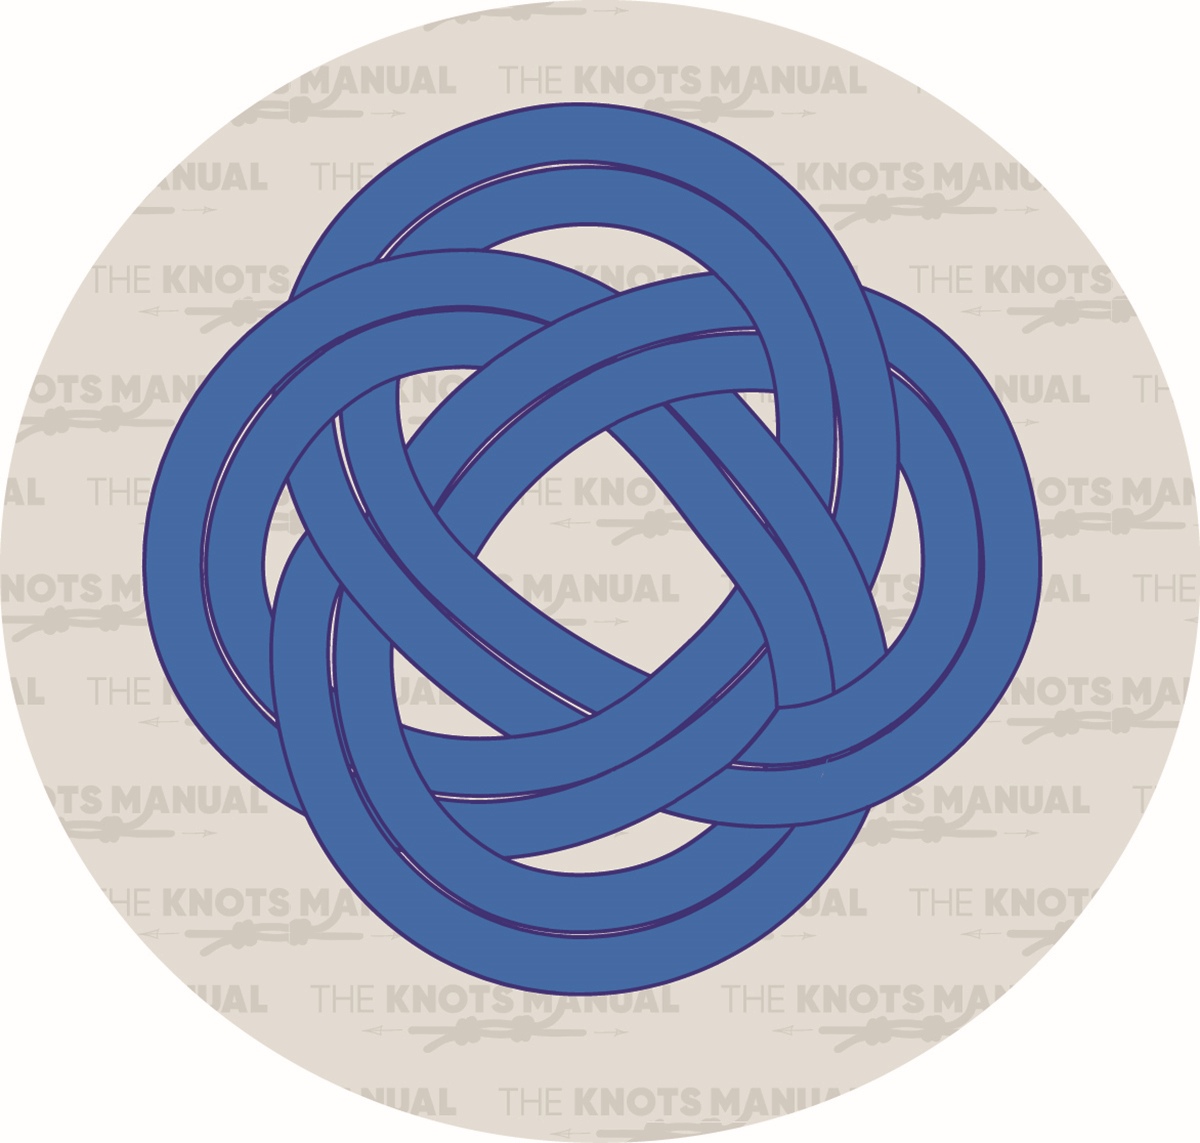
The Carrick Bend Mat is a small mat that’s formed from rope using a single knot. It has an esthetically pleasing, endless appearance, which is why it’s often used for various decorative purposes.
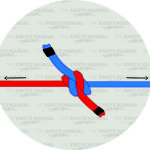
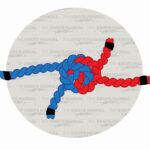
Its name comes from its similarity with the Carrick Bend Knot, which is a knot that securely joins two ropes.
Quick Guide: Tying a Carrick Bend Mat
The Carrick Bend Mat is somewhat difficult to tie if you’re doing it for the first time. But once you get the hang of it, it becomes easier. You’ll need a rope of around 1 meter (3 feet) in length. You may need a much longer rope if you want to do more turns or if the rope is thicker in diameter.
To tie it, create a loop near the end of the rope and then cross it with the other end two times, making 3 crossings in the process (steps 1-1b). After that, pass the standing end of the rope from the left side over, under, over, and again under the strands formed so far (step 2). This will create the main structure of the knot, with 6 crossings in total. After that, retrace the original path of the knot with the standing end until you make another full turn (steps 3-3c).
To secure the loose ends, tuck them under the top strands. If the rope is synthetic and melts, you can melt the two ends together. For permanent solutions with natural ropes, you can also secure them together with a piece of thread to make sure that they don’t come loose.
In our example, we did 2 full turns to illustrate how the Carrick Bend Mat is formed. But if you make the loops larger in steps 1-1b, then you can also do many more turns (3-10). This will make the mat considerably larger.
In our illustration, the hole in the center is small. But you can make it larger if you want to by making the loops larger in steps 1-1b.

Common Uses for the Carrick Bend Mat
Most commonly, the Carrick Bend Mat is used for useful purposes, like creating coasters to put under mugs. When tied with larger ropes and with more turns, it can also be turned into a small carpet, a chair cover, a hot pad, or to create larger mats for other purposes.
When created using leather strips, you can create a woggle with it, which is a fastening element for scout scarves.
The Carrick Bend Mat is also often used for various decorative purposes. You can incorporate it into various macrame, knitting, and crocheting designs to make them look unique. It can also be turned into a lapel pin and then attached to a shirt to create an interesting look.
Knots Like the Carrick Bend Mat
Carrick Bend: This knot is very similar in structure to the Carrick Bend Mat, but is tied differently. Its main use is to connect two ropes. It’s often used to connect ropes that are very thick in diameter because it’s secure and doesn’t form any sharp turns.
Turk’s Head Knot: A very similar knot to the Carrick Bend Mat, as it’s also formed using the over-and-under alternating technique. Instead of creating a mat, it creates a decorative ring, that can be tied around poles and other objects.
Monkey’s Fist Knot: Although in looks, it resembles Turk’s Head and Carrick Bend Mat knots, it’s used for a different purpose. It’s tied around a ball to create an interesting-looking keychain or around weighed balls to create a deadly weapon.
Step-By-Step Guide: How to Tie a Carrick Bend Mat
A step-by-step instruction on how to tie a Carrick Bend Mat.
Step 1:
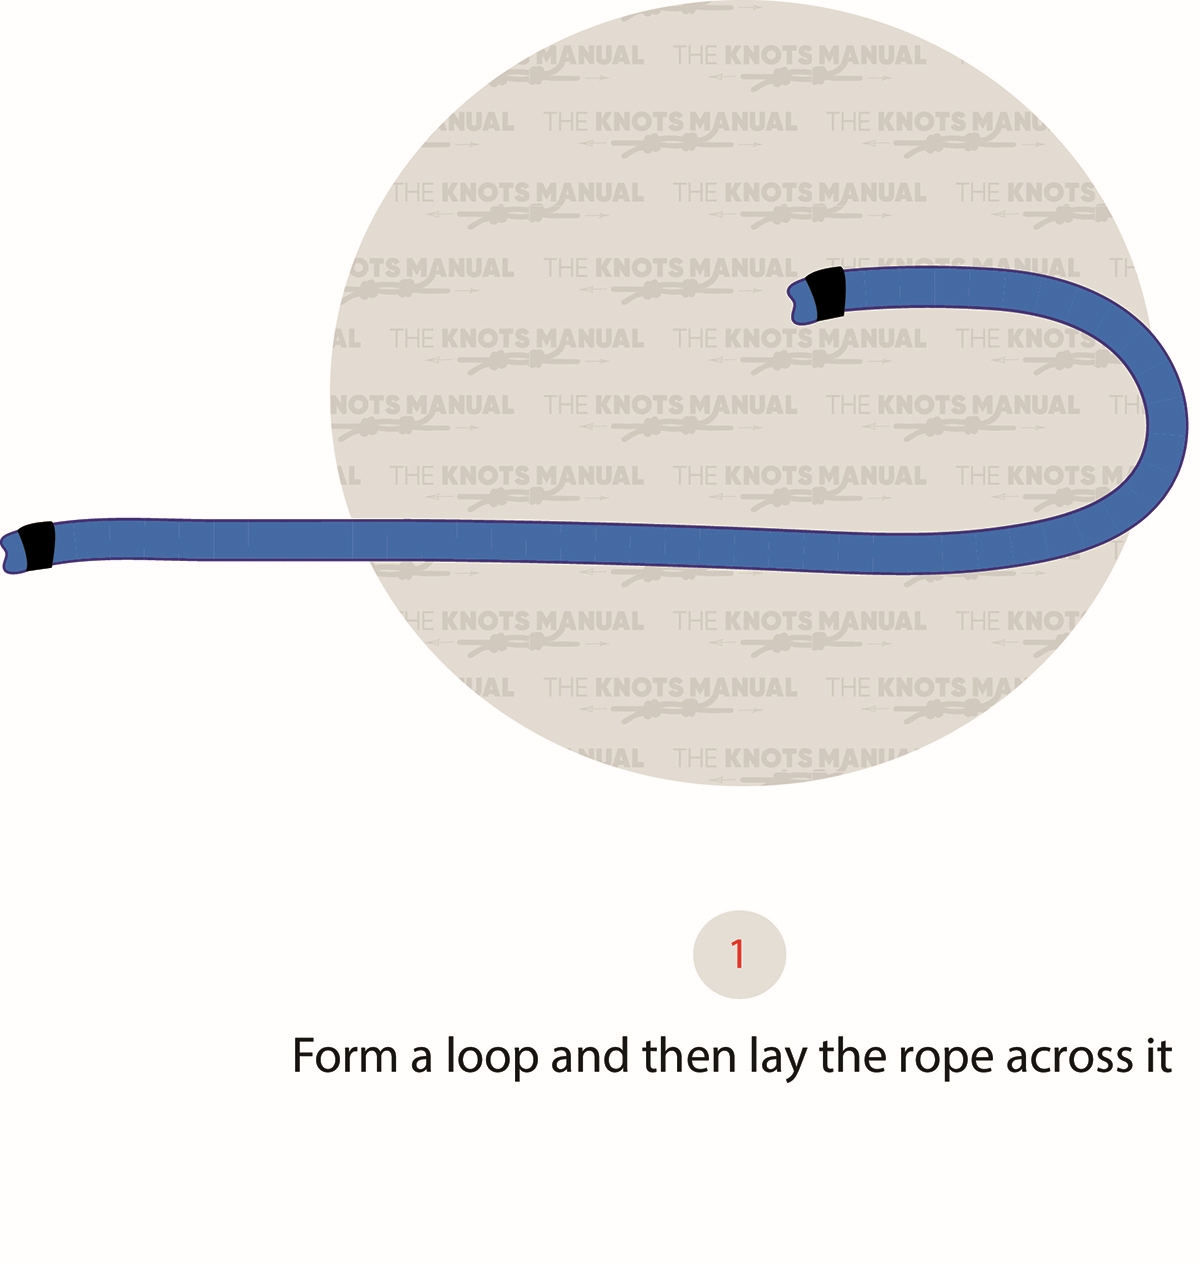
Create a bight near the end of the rope.
Step 1a:
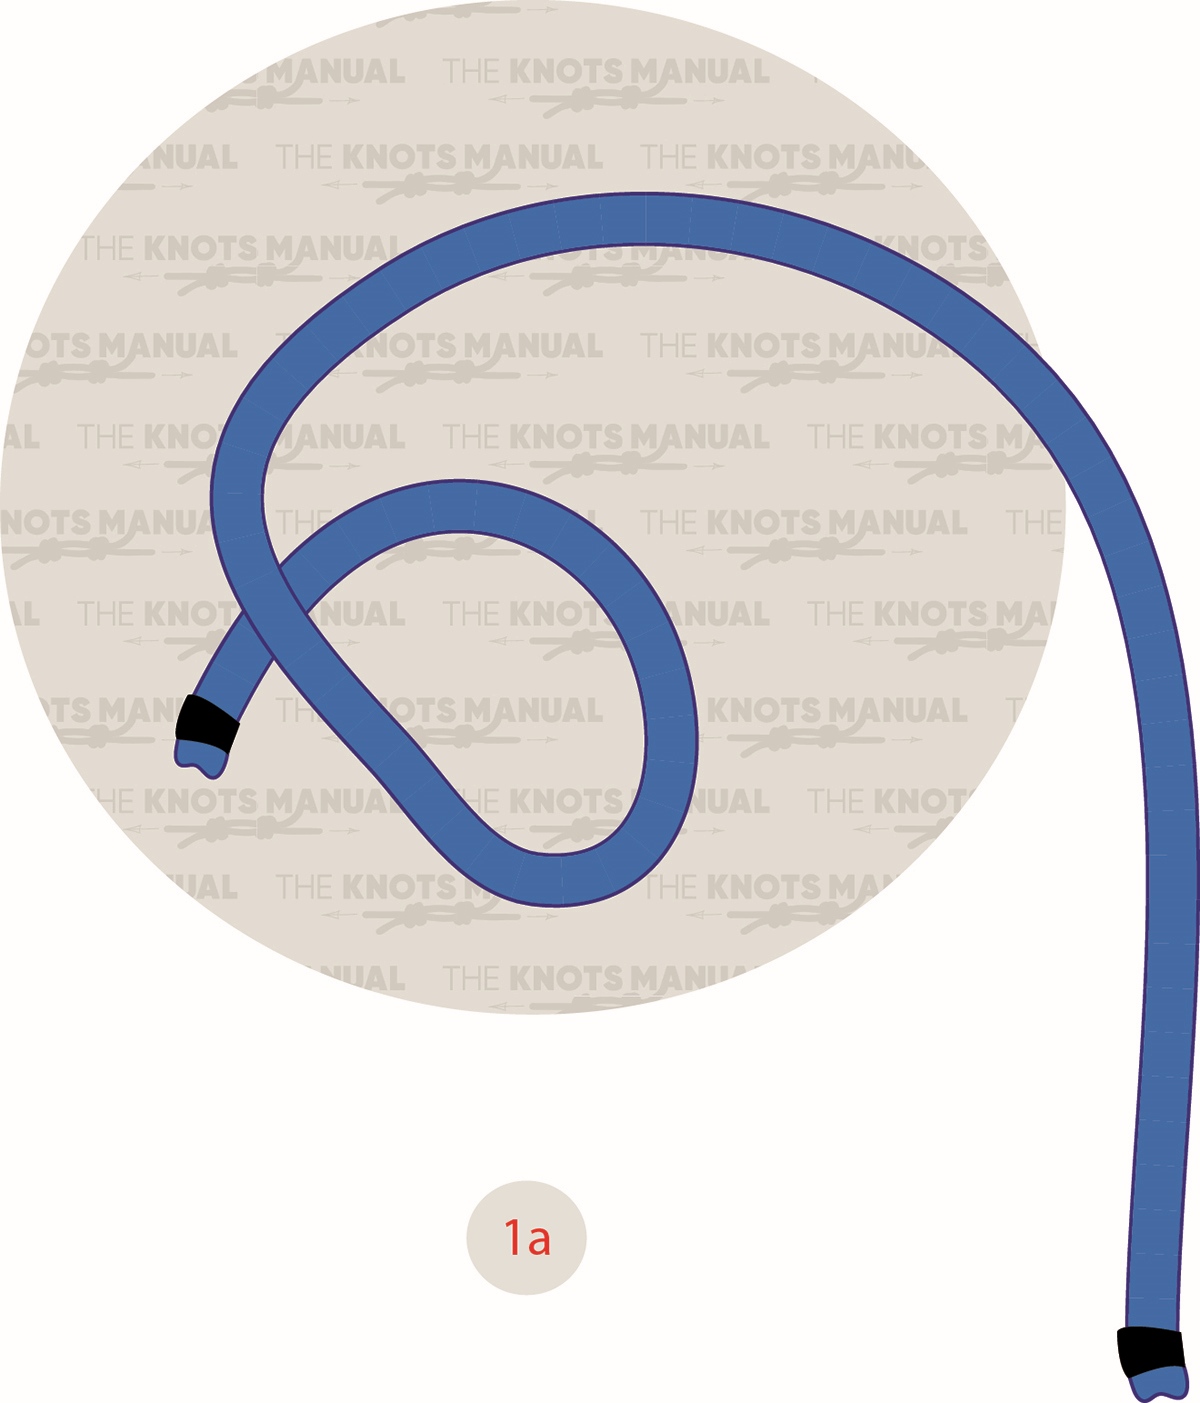
Cross the standing end of the rope over it.
Step 1b:
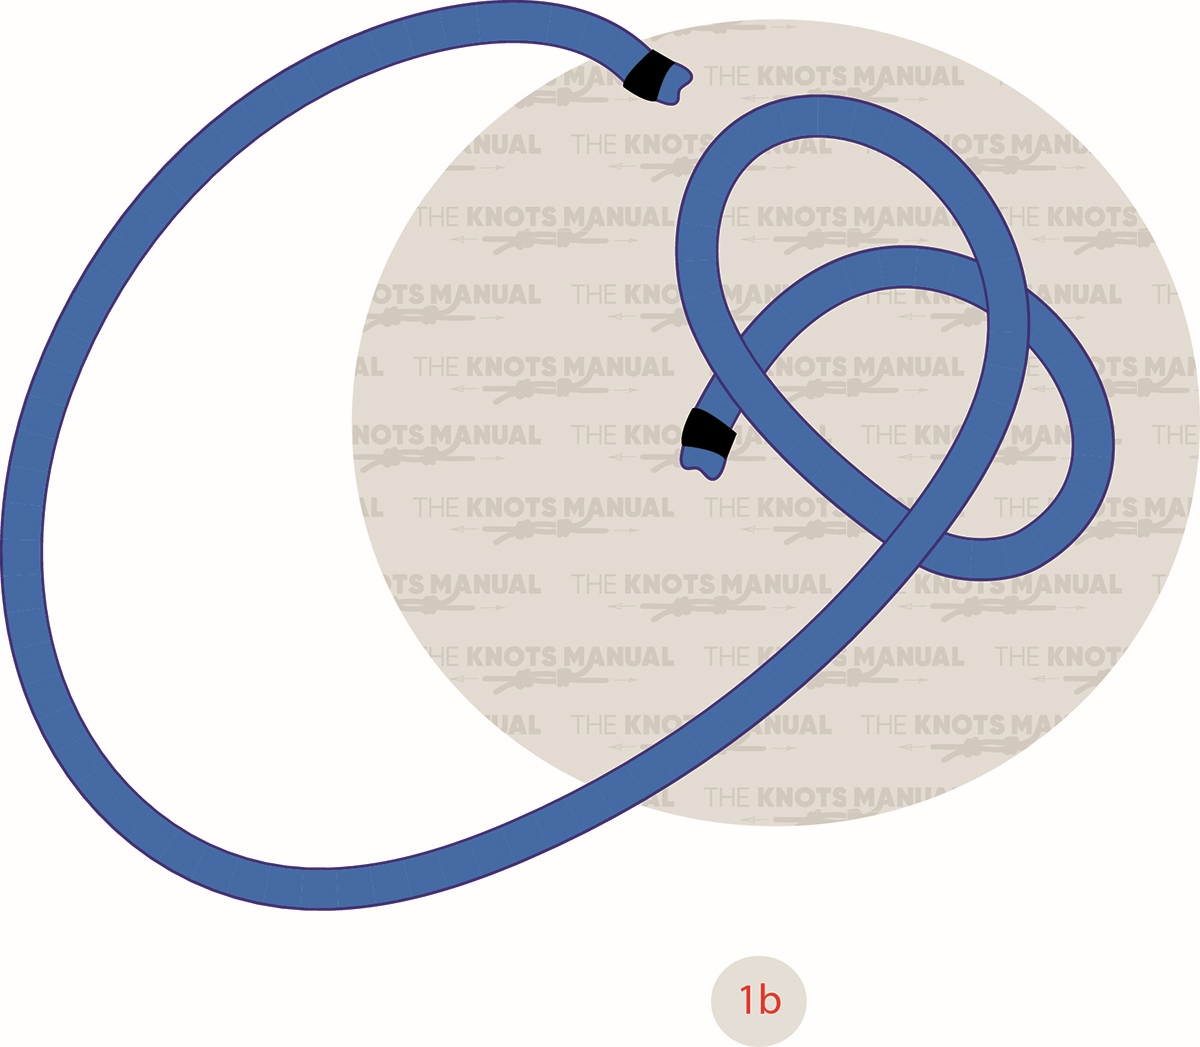
Cross it one more time and place the rope as illustrated above, with the standing end ready to enter the knot from the left side.
Step 2:
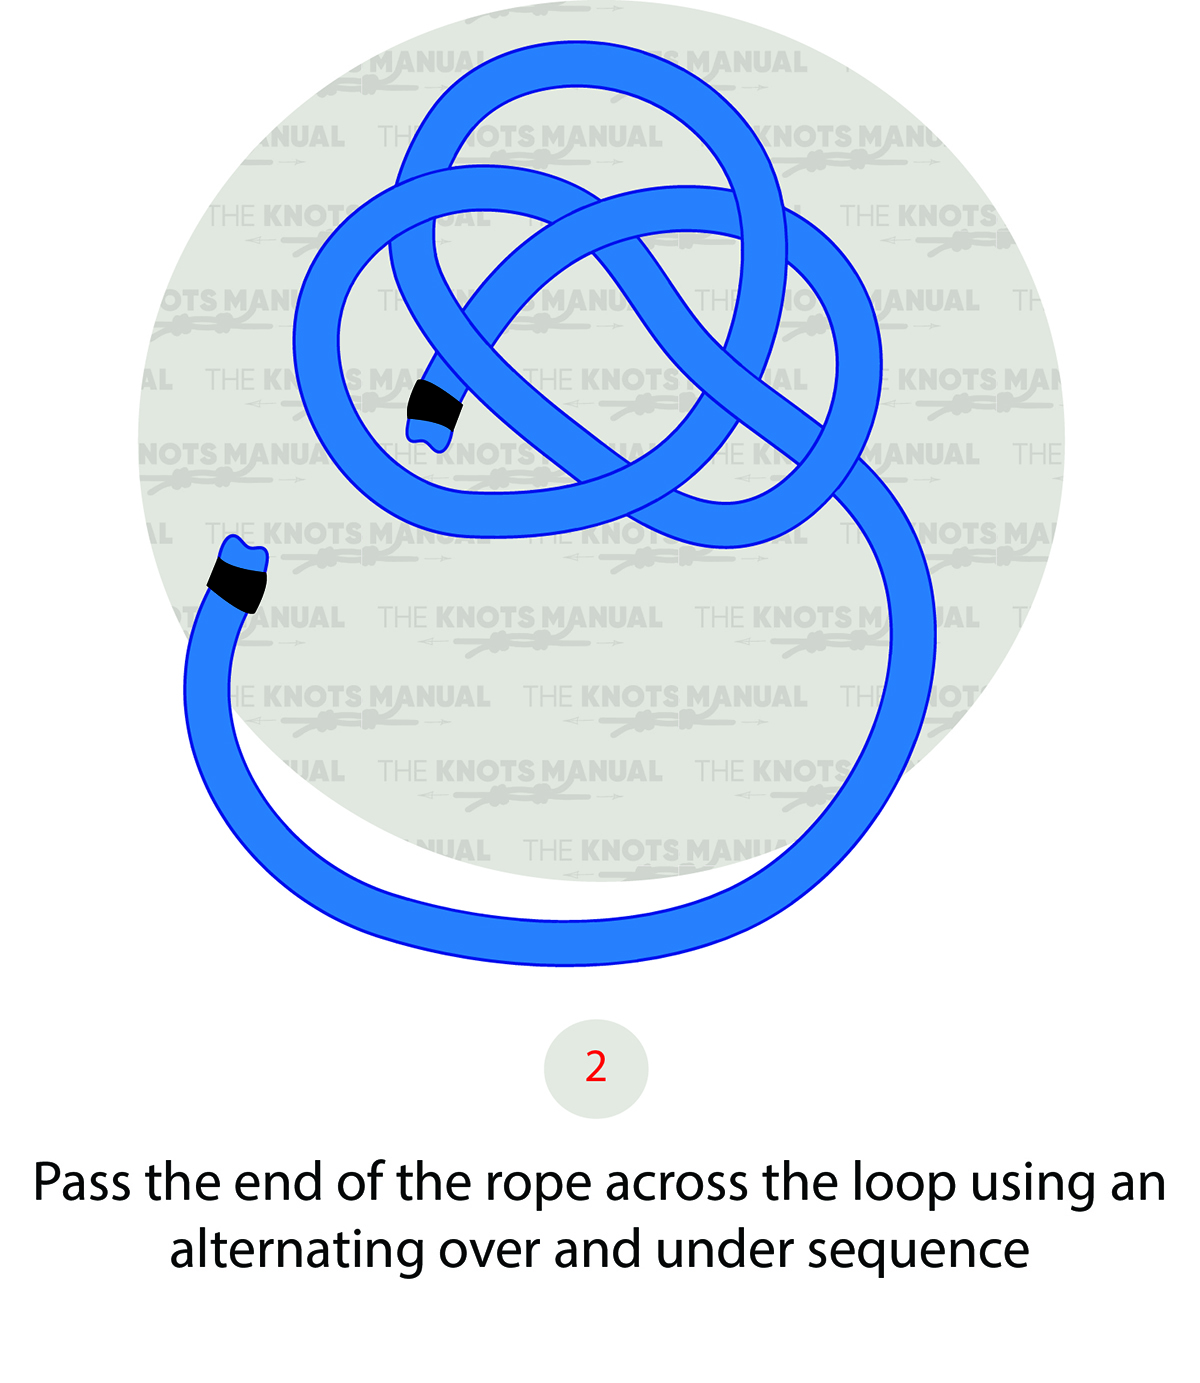
Pass the working end over, under, over, and under the knot to create the main structure of the Carrick Bend Mat.
Step 3:
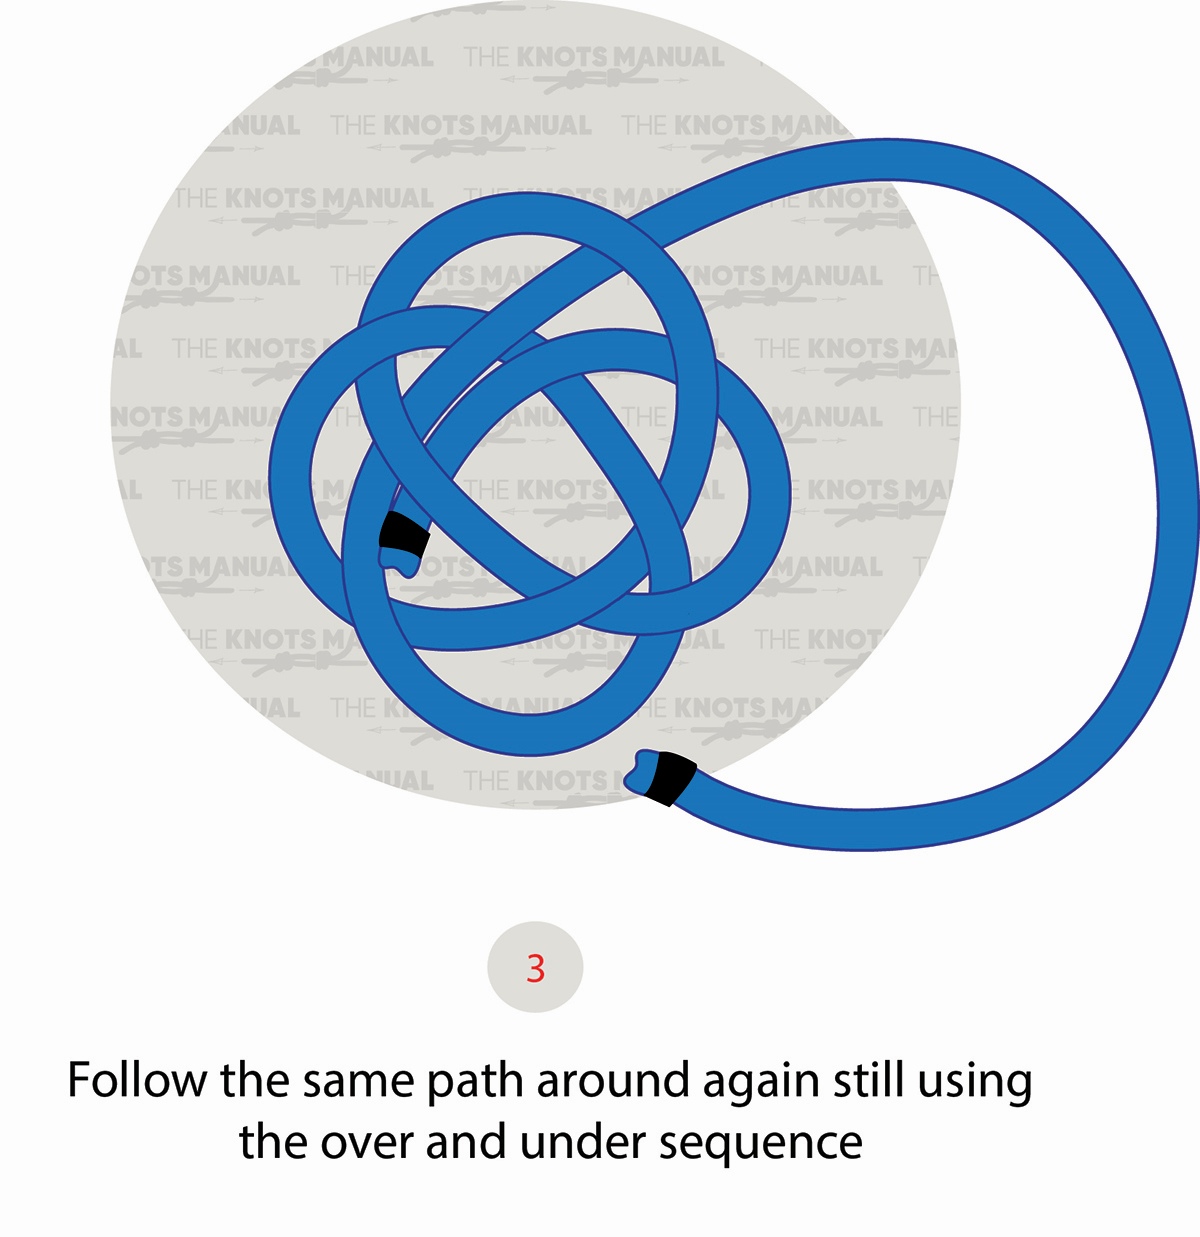
Continue tying the knot as illustrated above, with the standing end entering the knot right next to the working end on the outer edge.
Step 3a:
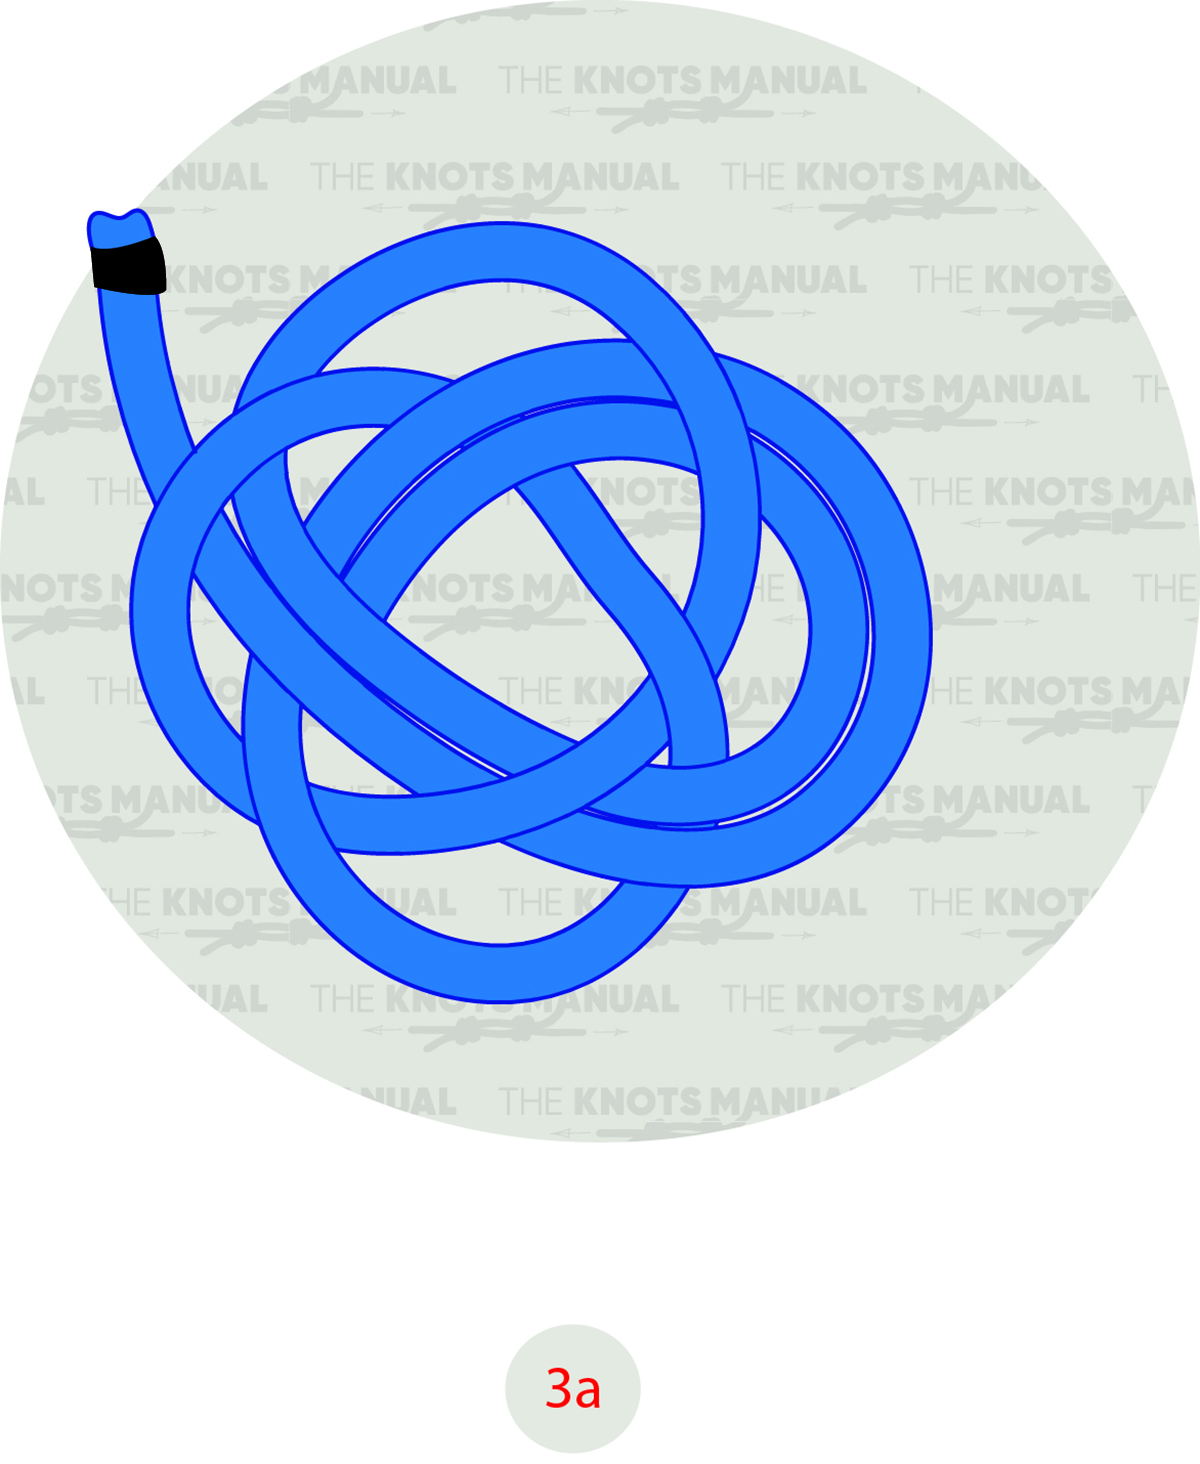
Keep following the path of the main knot on the outer edge.
Step 3b:
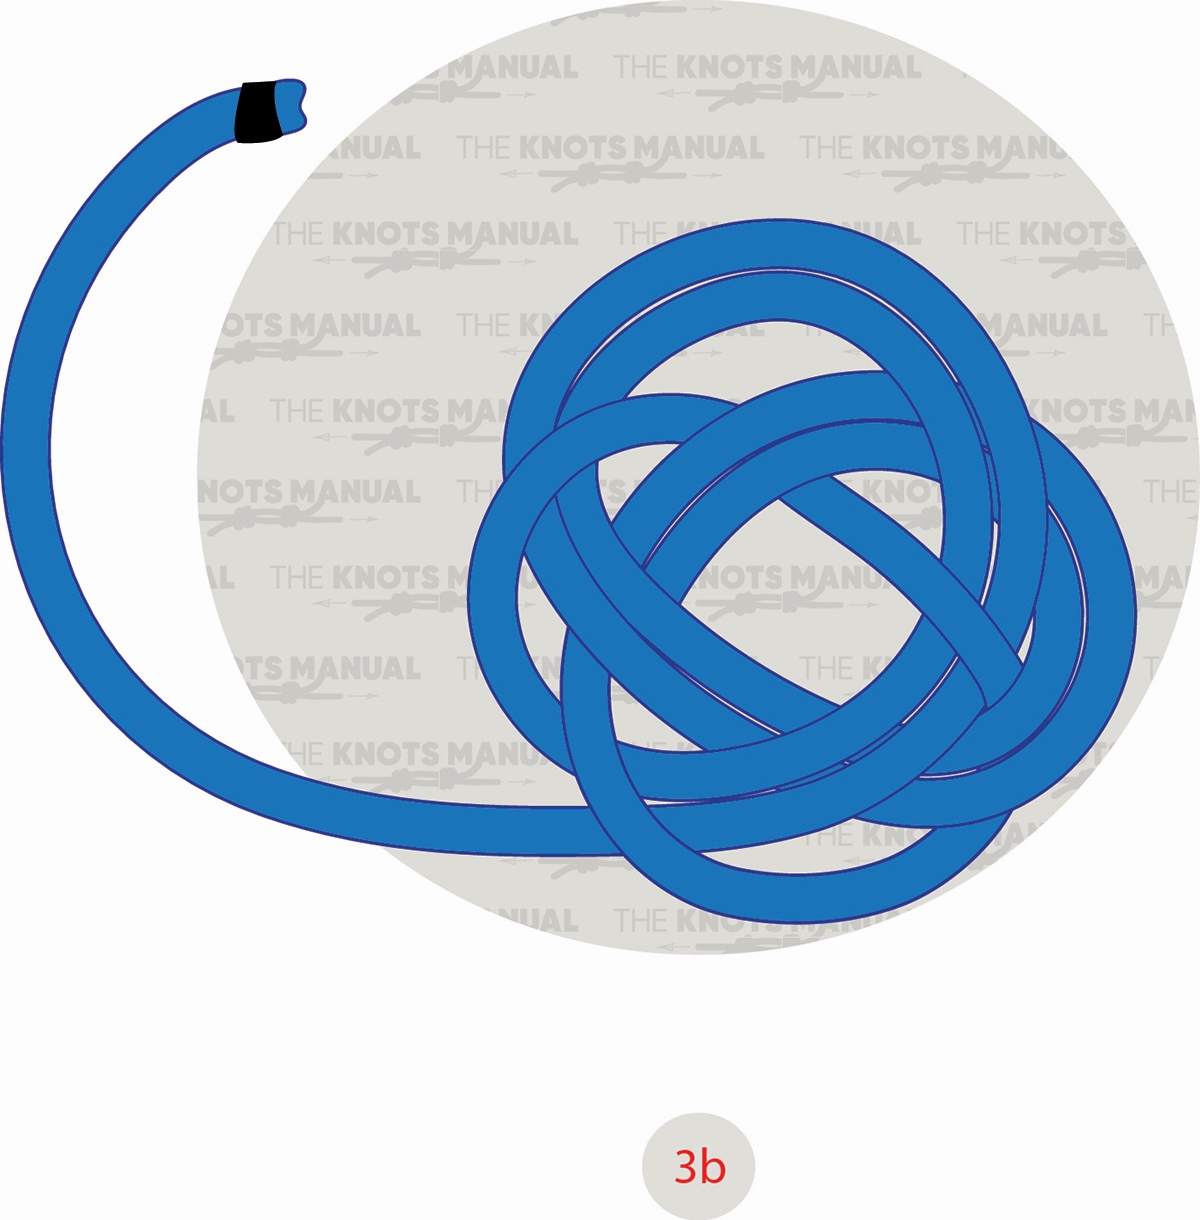
Keep following the path until all sections of the knot consist of two parallel ropes.
Step 3c:

Finish the knot by tucking the standing end next to the working end.
Step 4:
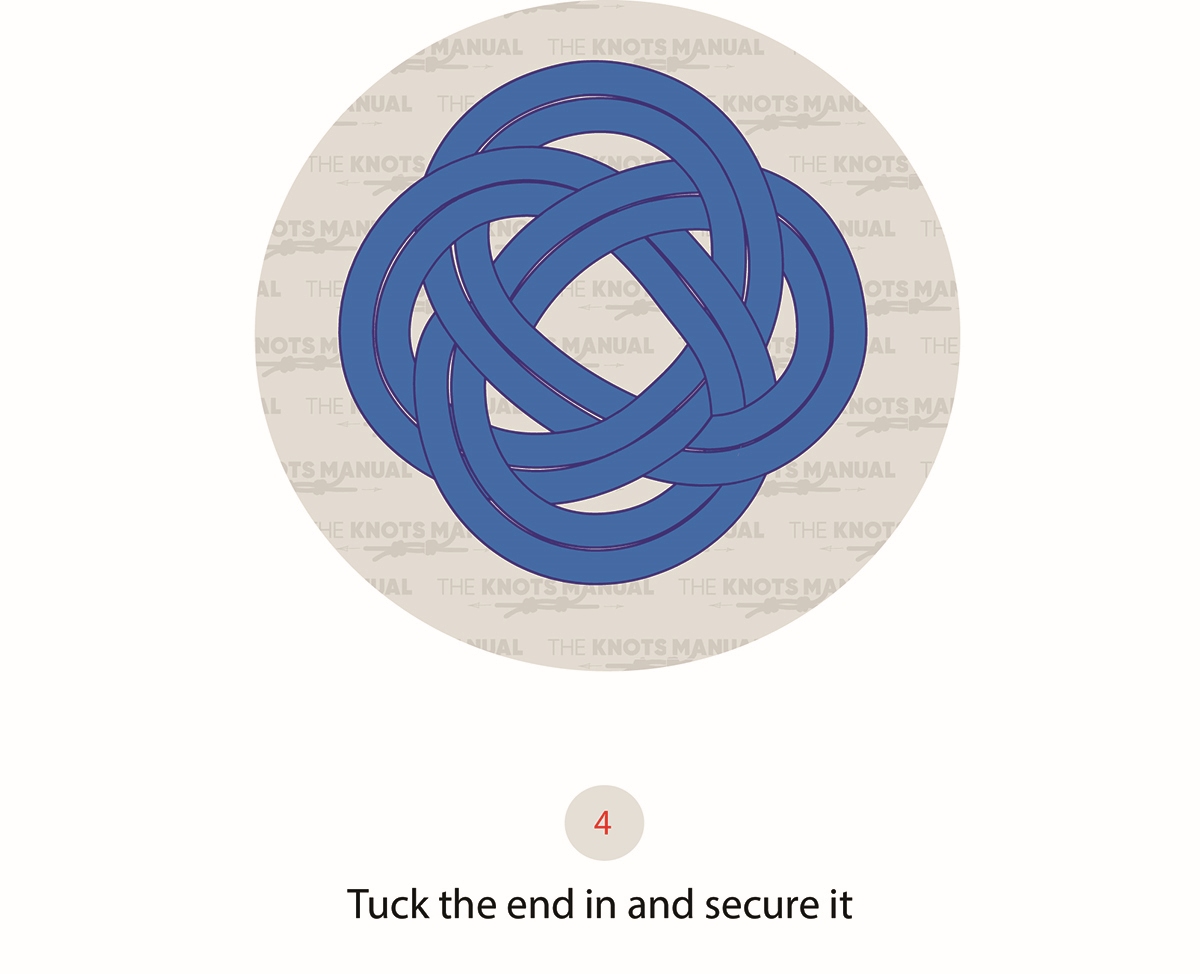
You can secure the knot with a thread by tying the working end together with the standing end.