The Highwayman’s Hitch is a hitch knot with a quick-release mechanism. It’s most commonly used for temporary hitches because even though it’s secure, it can come undone by accident.
In other sources, the Highwayman’s Hitch is also sometimes referred to as the Bank Robber’s Knot, Horsethief Knot, Getaway Hitch, or the Highwayman’s Cutaway.
Quick Guide: Tying a Highwayman’s Hitch Knot
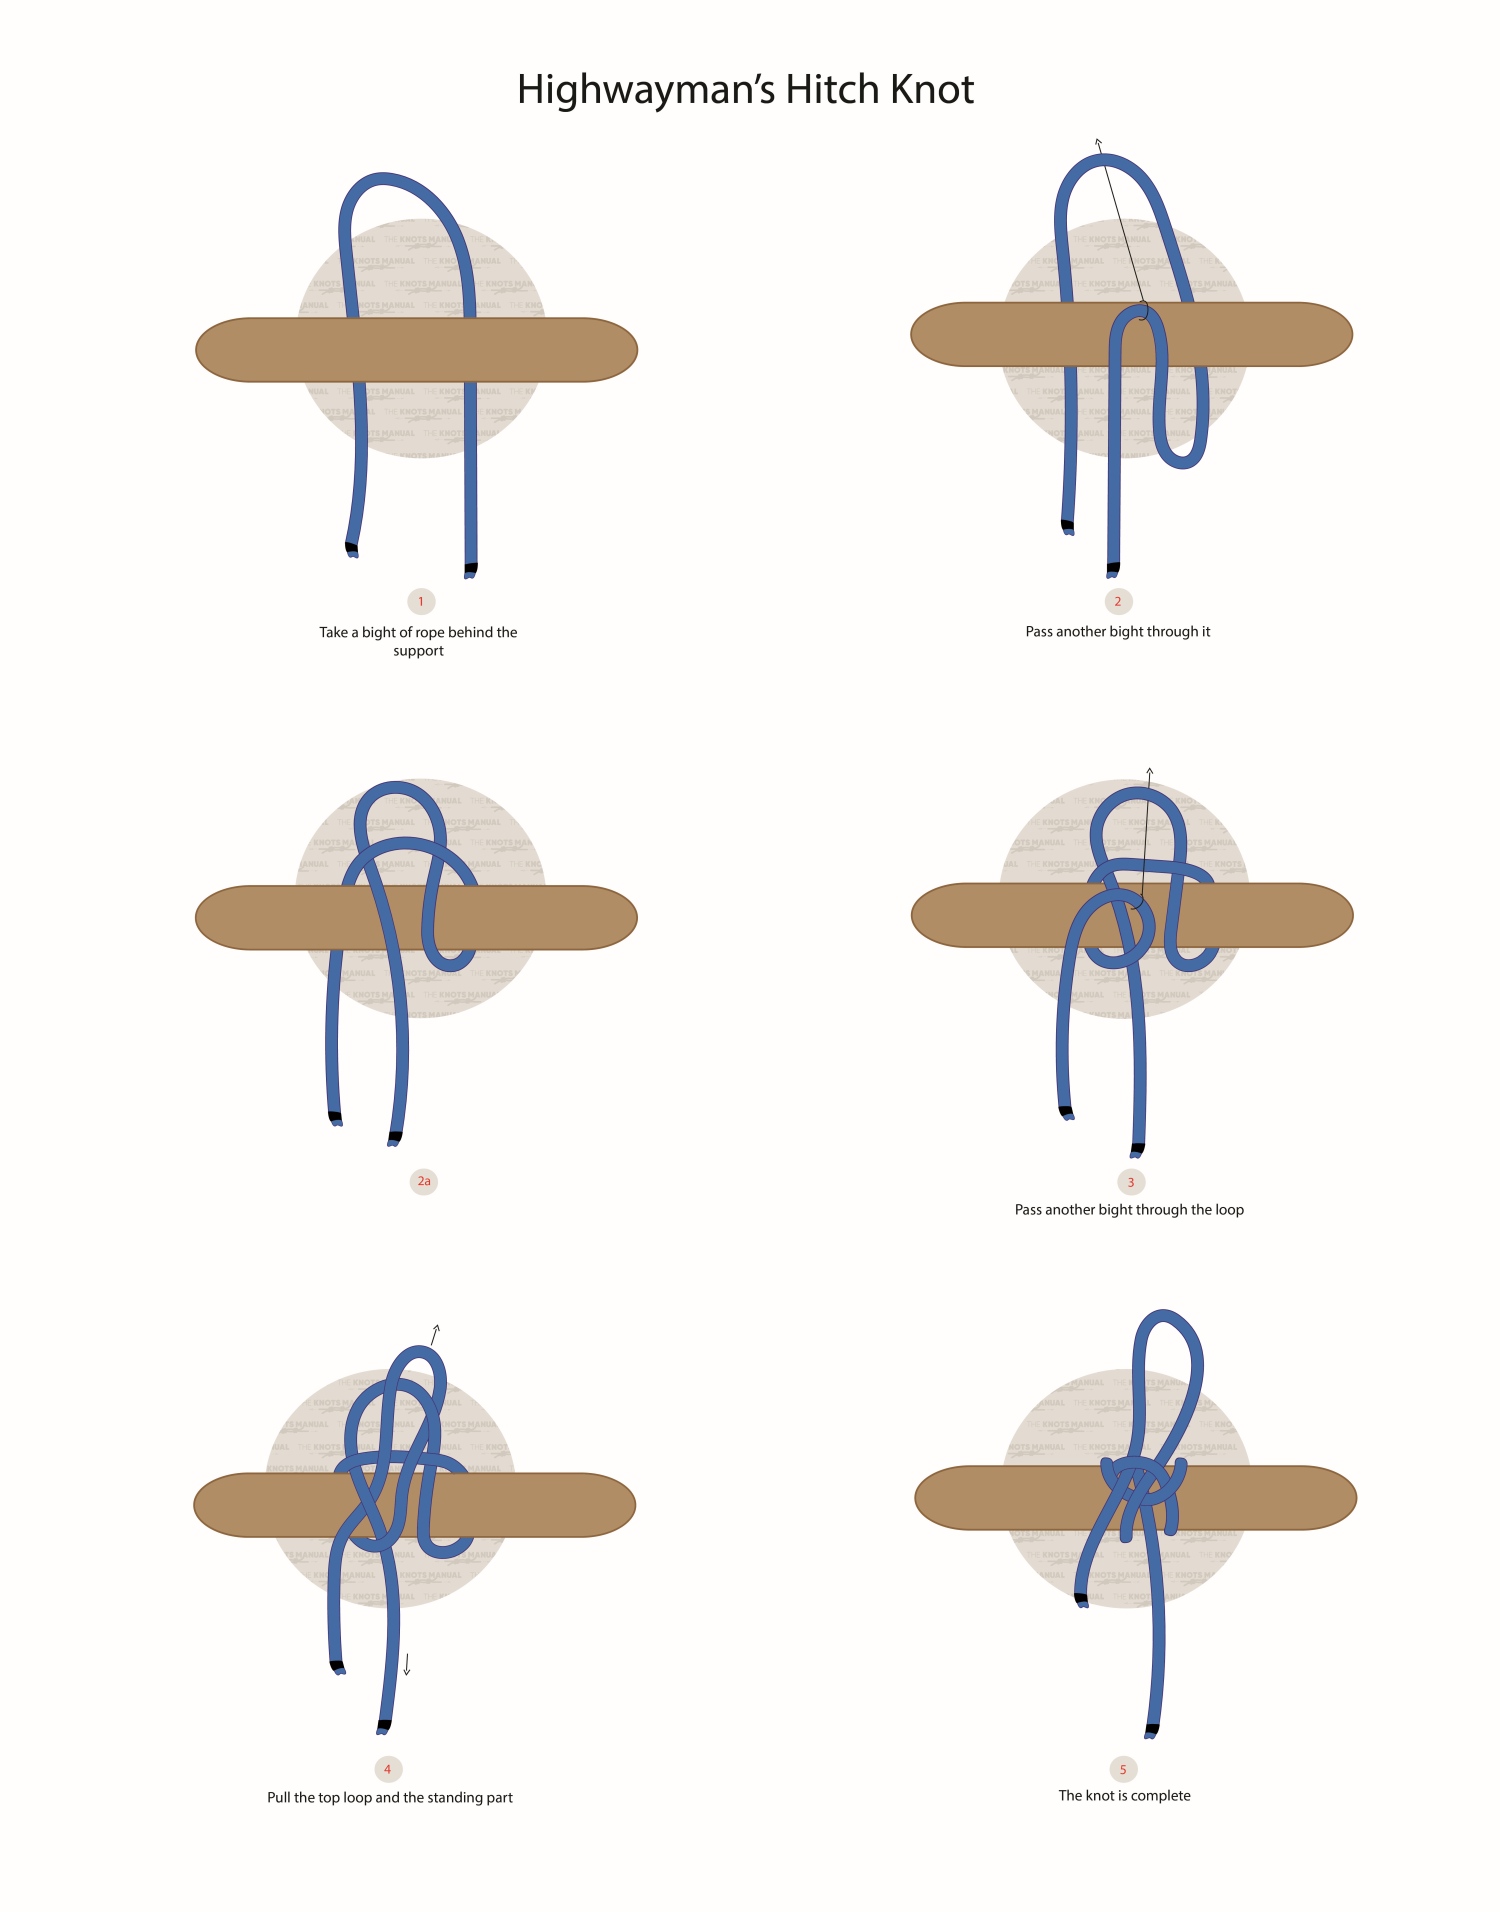
To tie the Highwayman’s Hitch Knot, make a bight and place it behind the support (step 1). Create another bight on the standing end in front of the support and take it through the first bight (steps 2-2a). Then create another bight and take it through the last one you created (steps 3-4). Finally, tighten the knot to finish it (step 5).
You can make it easier to tighten by keeping each bight somewhat small and tightening them after each step. Before loading the Highwayman’s Hitch with weight, make sure to tighten and dress it properly. That’s because this knot isn’t self-tightening, and it holds very little force when loose.
It’s also worth noting that it doesn’t work well with supports that are very large in diameter. It can capsize and come loose. In this case, using other knots, like the Tumble Hitch, is preferred.
Pros and Cons of the Highwayman’s Hitch
One advantage of the Highwayman’s Hitch is that it is very easy to tie. If you learn it once, then you’re very likely to remember it next time you need to tie a quick-release hitch.
It’s also a somewhat secure knot. That said, the Tumble Quick Release Hitch is even more secure. They’re both tied very similarly, so it makes more sense to learn the Tumble Hitch instead.
Another advantage is that it comes loose very easily by pulling the working end. It comes loose even under tension when loaded with weight.
It can also be tied in the middle of the rope, making it advantageous over other quick-release hitches in certain situations. If both ends of the rope aren’t available, then the Highwayman’s Hitch is a very useful knot to know.
One downside of the Highwayman’s Hitch is that it can come undone by accident. A sudden tug or jerk could cause the working end to get caught in the rope and get pulled by itself, which would cause the knot to untie. That’s why it should never be used for critical tasks, like climbing.
Common Uses for the Highwayman’s Hitch
The Highwayman’s Hitch is used universally across many fields in situations where you need to tie a temporary quick-release hitch. You can use it to temporarily moor a boat or kayak, to hang food in a tree when camping, or to secure tent ridgelines.
Its name comes from Highwayman, which used it to temporarily tether animals. The “Bank Robber Knot” name also stems from this, because bank robbers needed to quickly untie their horses to escape.
Knots Like the Highwayman’s Hitch
Tumble Hitch: This is the most secure quick-release hitch. It’s tied very similarly to the Highwayman’s Hitch, except it’s more difficult to tighten and dress. Its main difference is that the quick-release bight sits on top of the support, further away from the standing line.
Slipped Buntline Hitch: One of the easiest-to-learn quick-release hitches. It’s also somewhat secure, but not as secure as the Highwayman’s Hitch or the Tumble Hitch.
Mooring Hitch: Another quick-release hitch, which, despite its name, isn’t meant for permanently mooring a boat. It can be used only for small boats to temporarily secure it because it can accidentally come undone. It’s less secure than the Highwayman’s Hitch.
Siberian Hitch: A quick-release hitch that’s less secure than the Highwayman’s Hitch, but can be tied more easily. Its main advantage is that it can be tied in the cold while wearing bulky leather gloves.
Step-By-Step Guide: How to Tie the Highwayman’s Hitch Knot
A step-by-step guide on how to tie the Highwayman’s Hitch Knot.
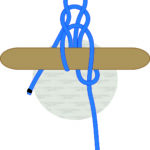
Step 1:
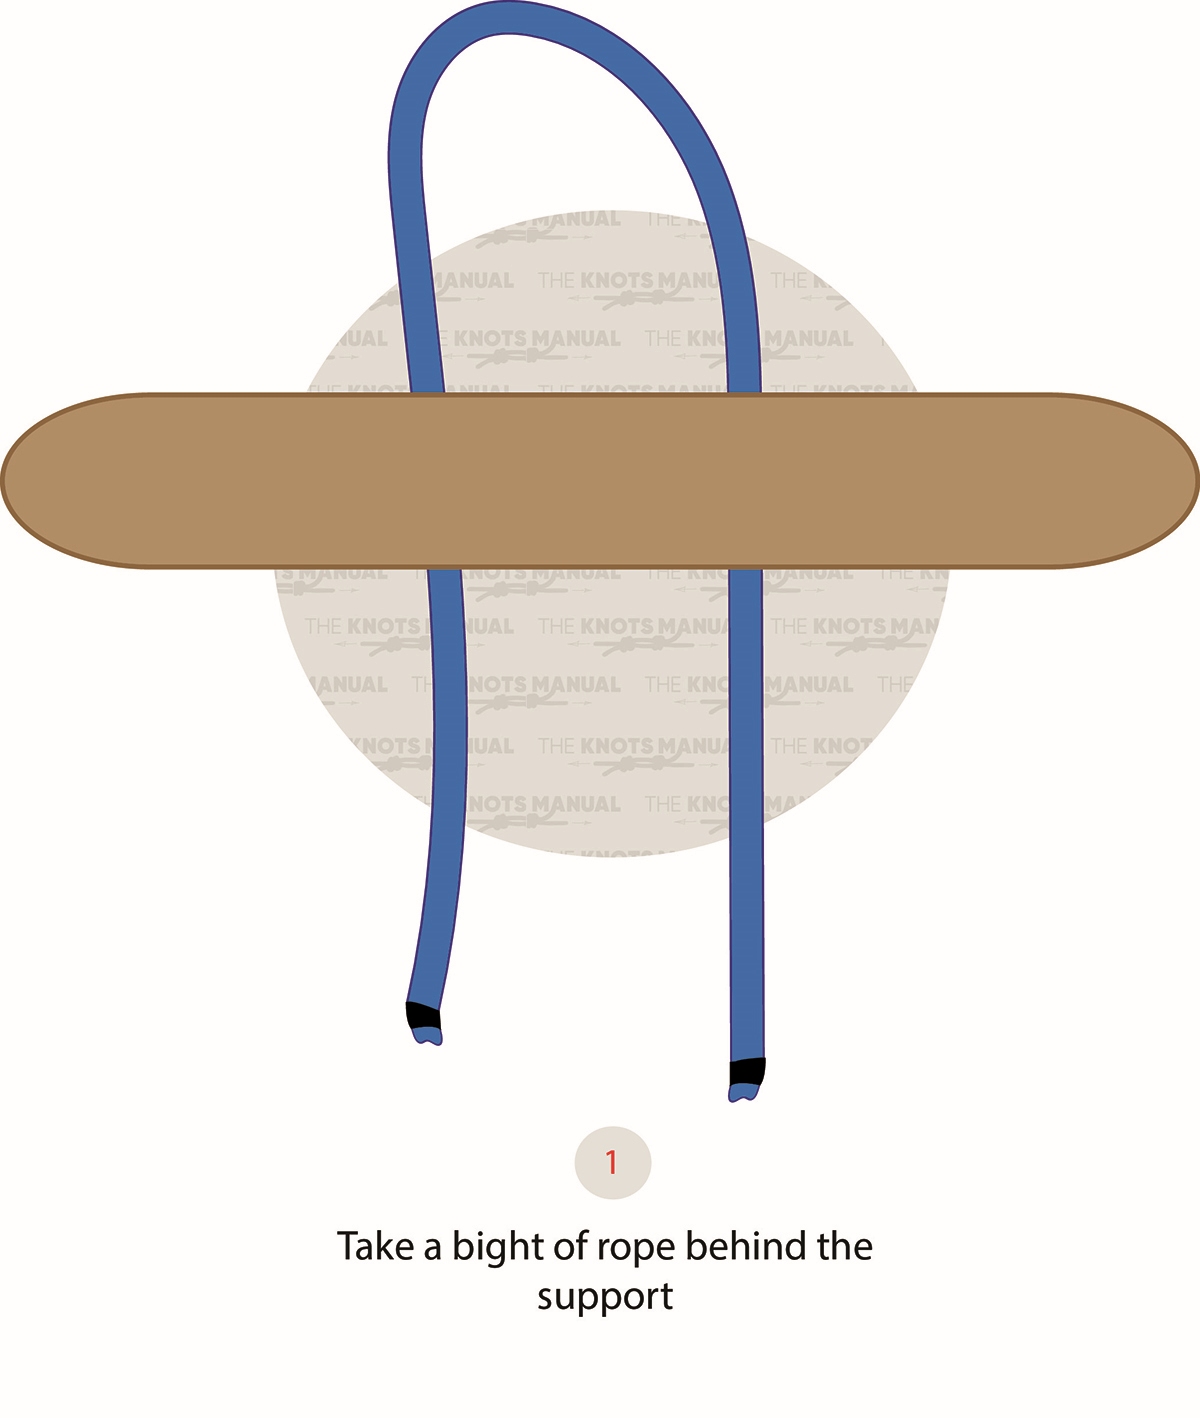
Create a bight near the end of the rope and place it behind the support.
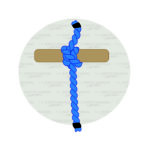
Step 2:
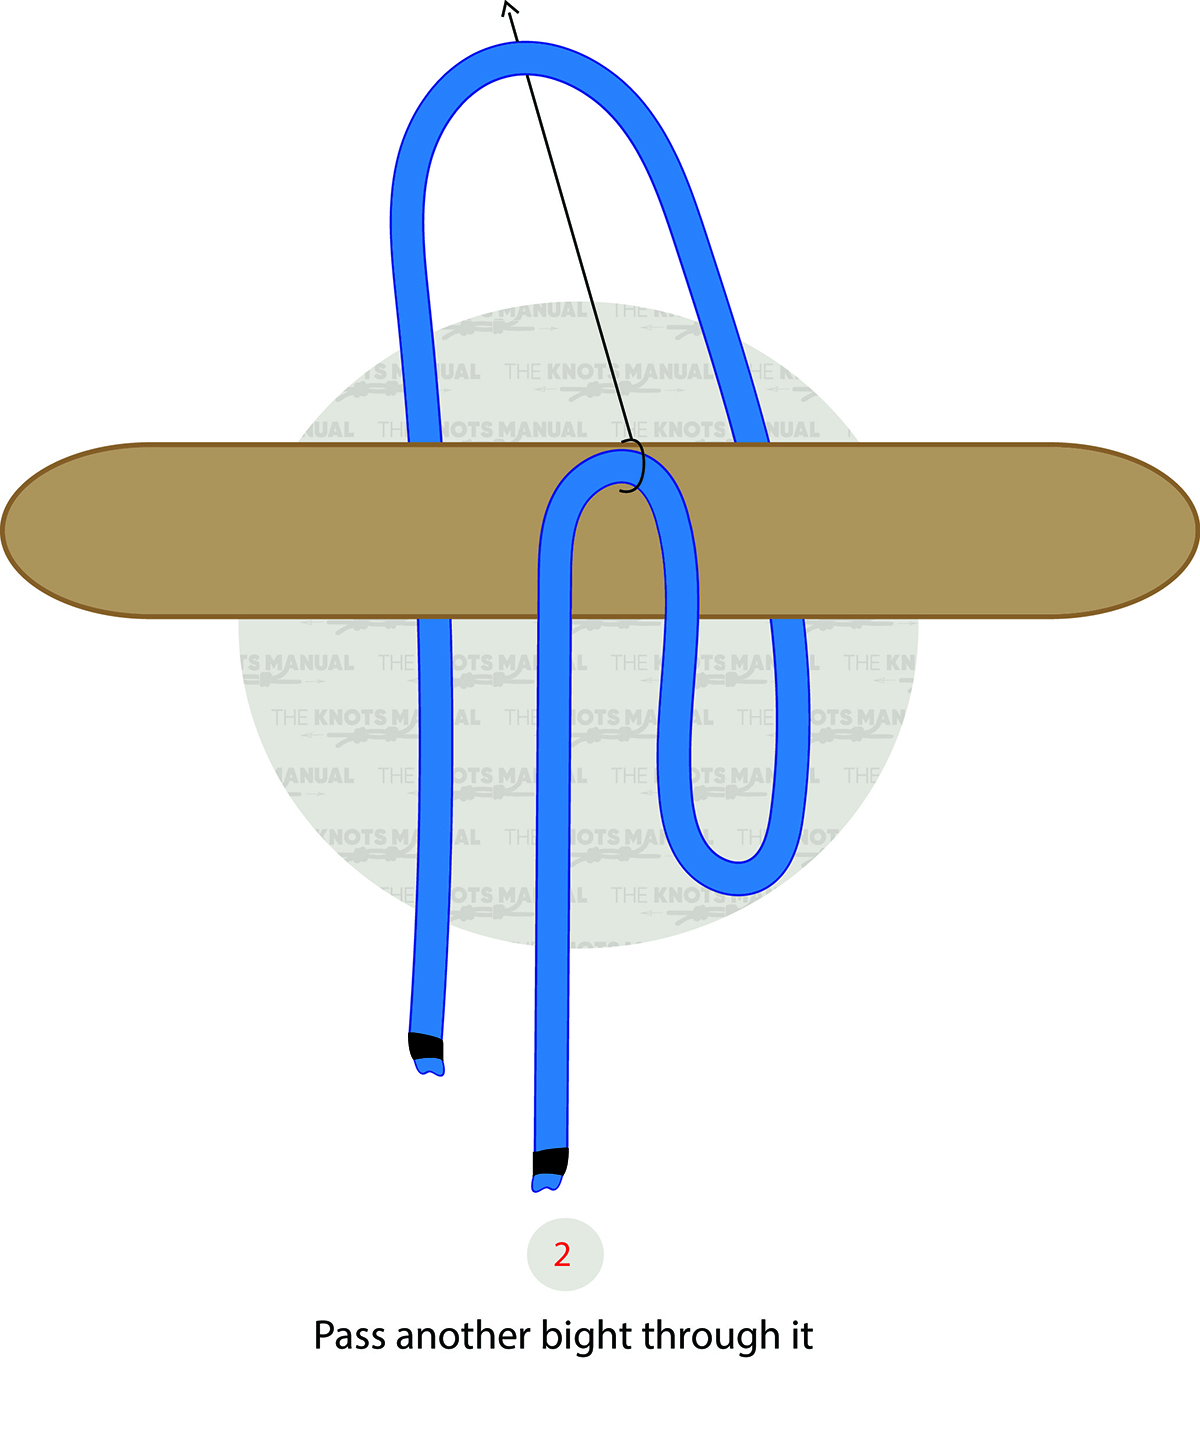
Create another bight on the standing end in front of the support.
Step 2a:

Pass the newly-formed bight through the previous one.
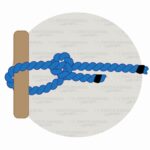
Step 3:
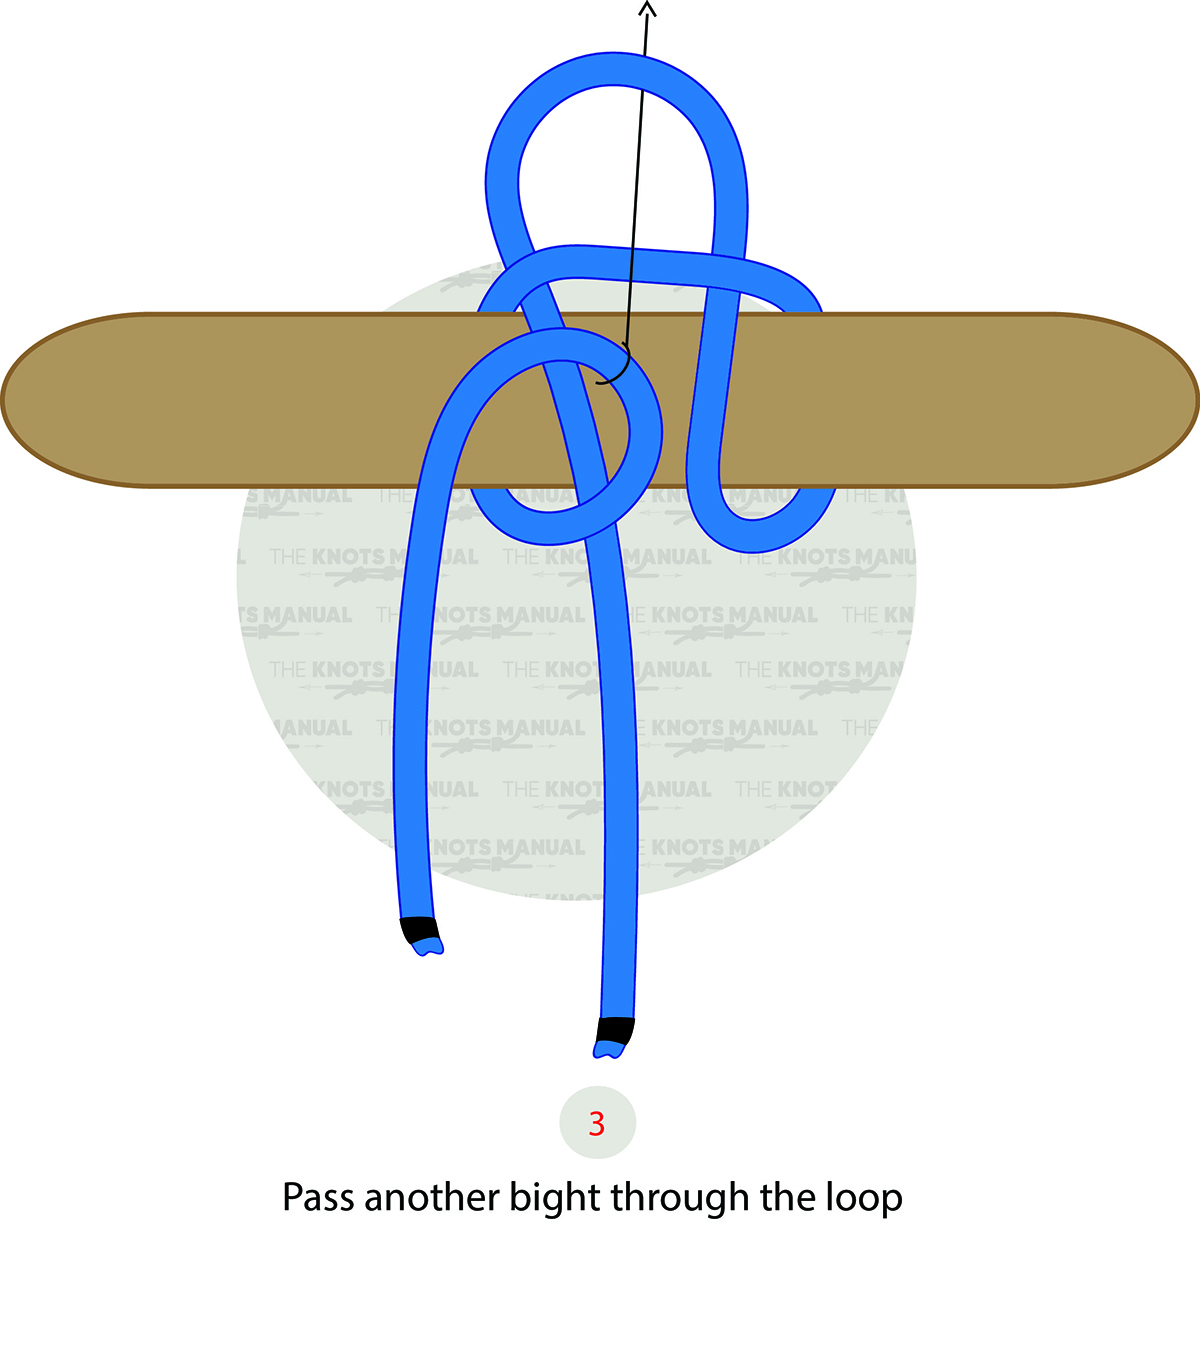
Create another bight in front of the support with the working end.
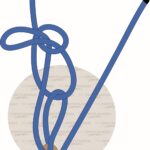
Step 4:
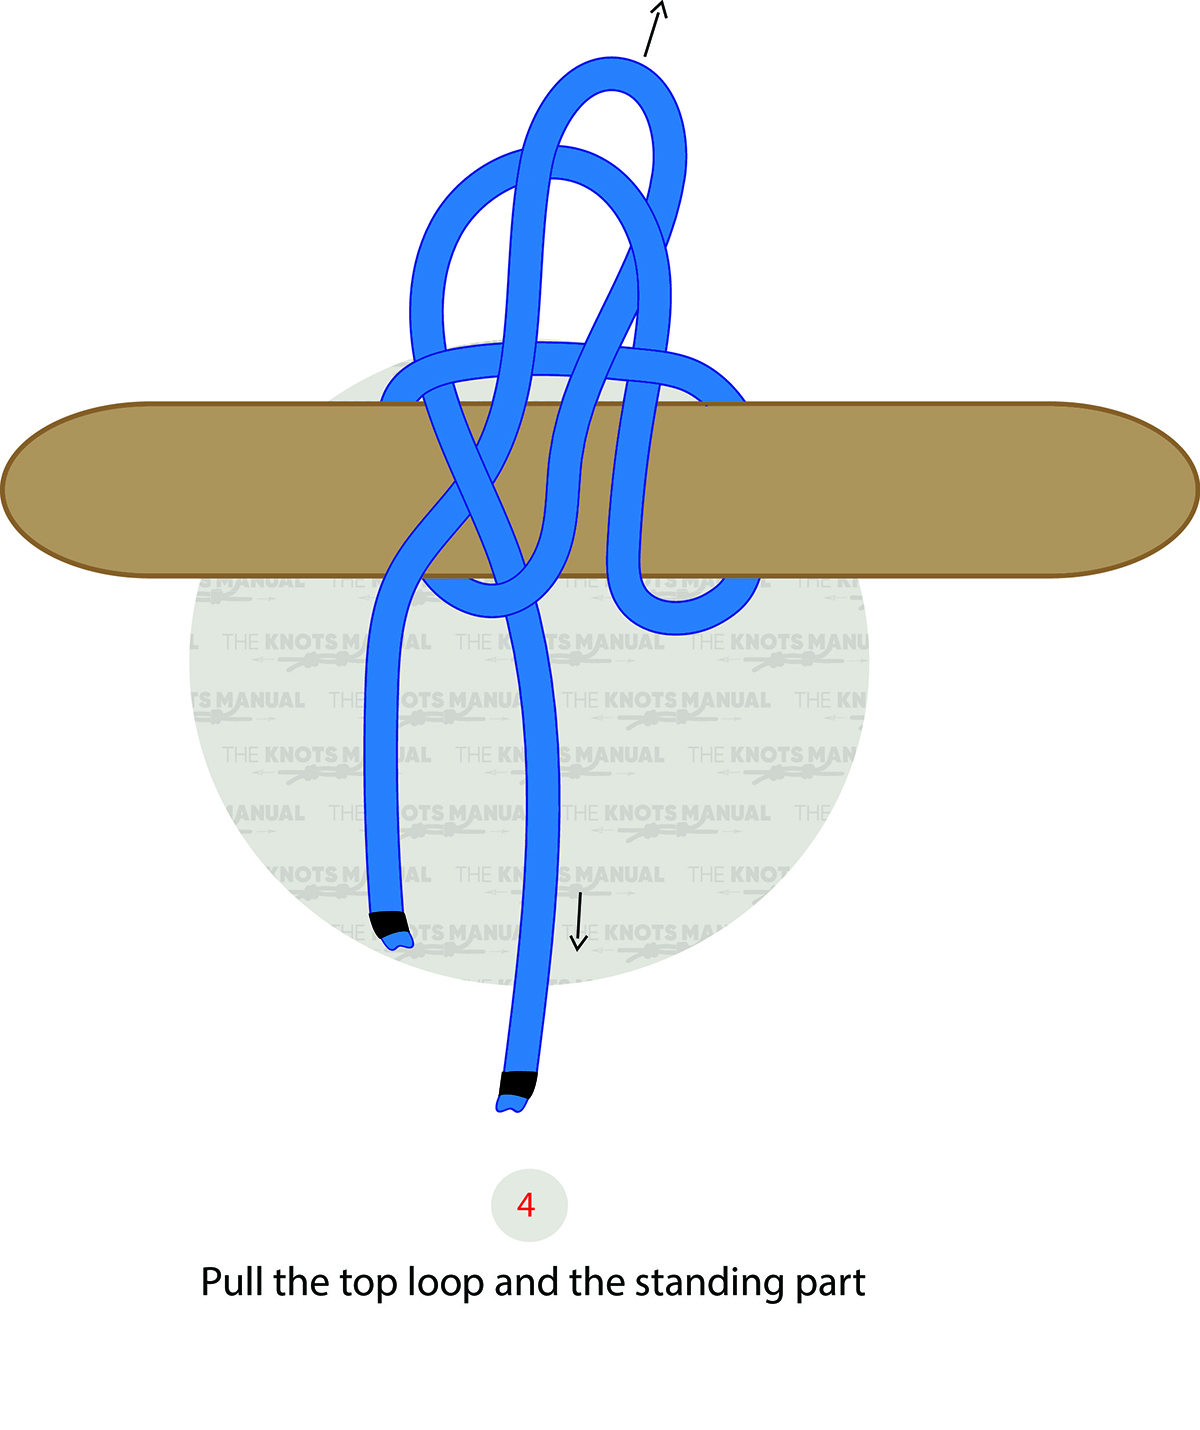
Pass it through the last bight that you created.
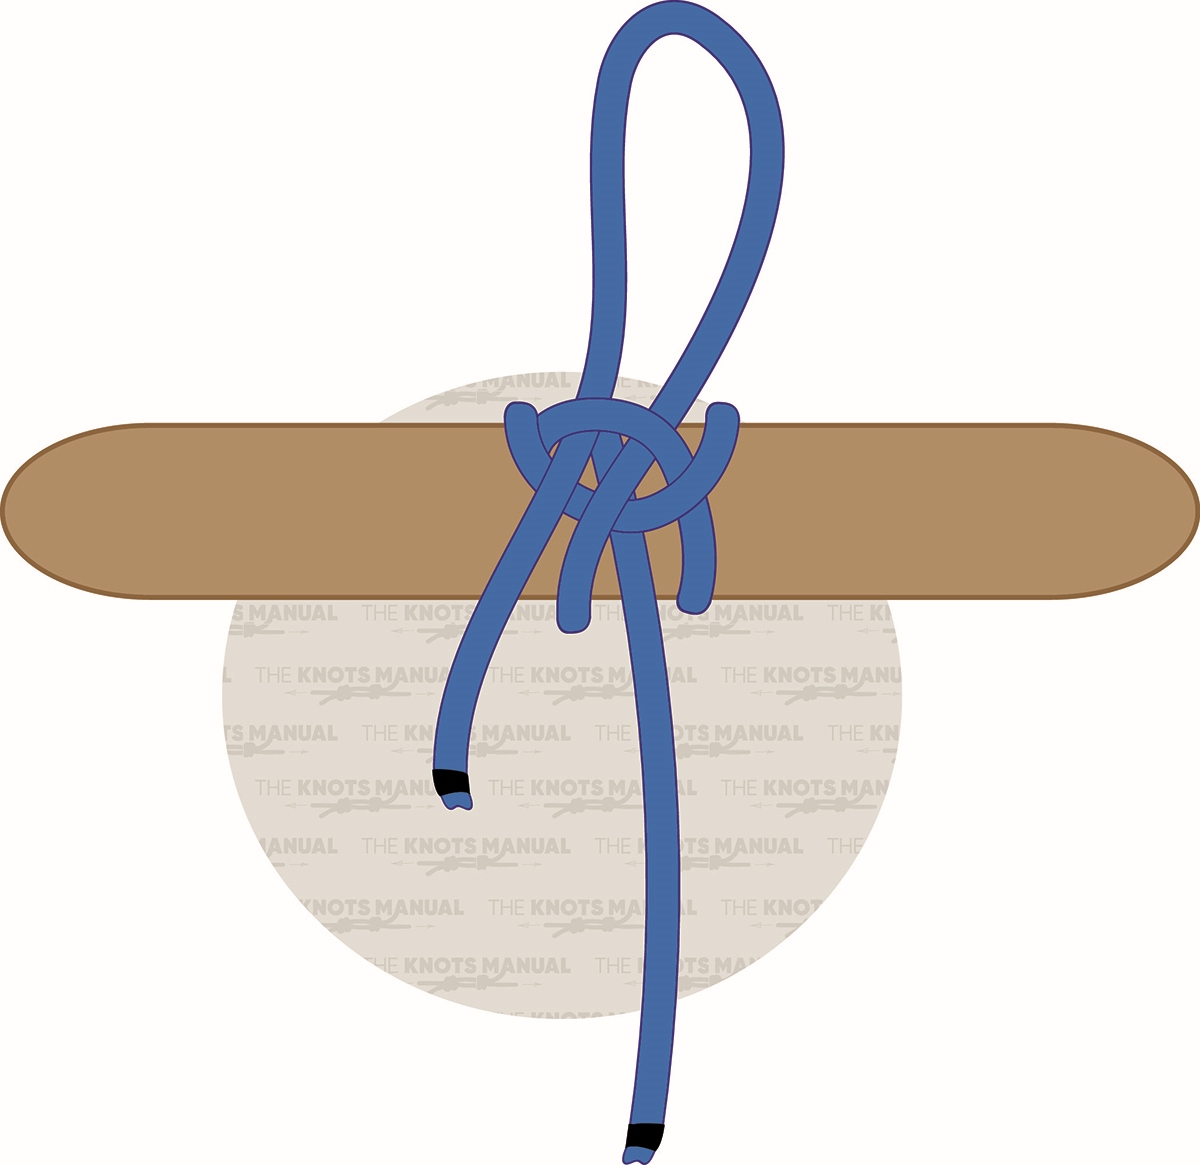
Step 5:

Tighten and dress to finish the knot.